
Laser Security System Using Arduino

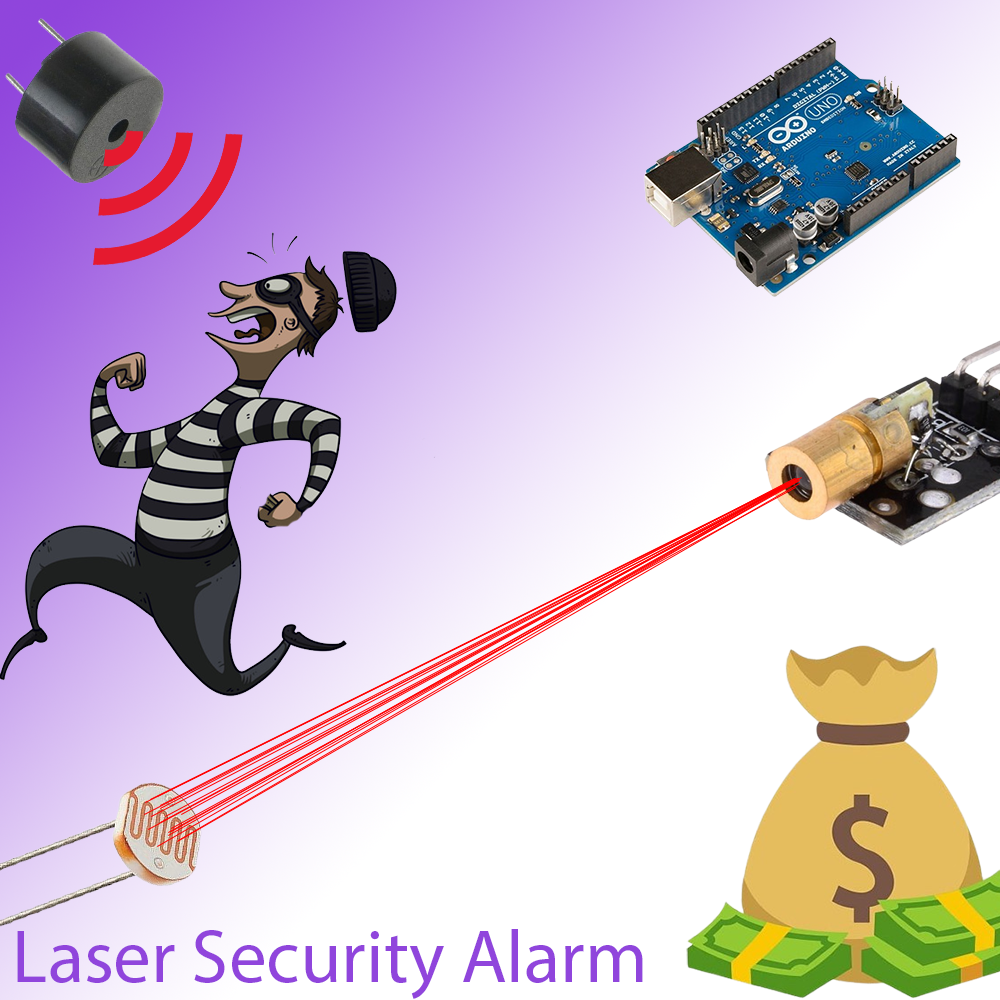
In this project, we used the Laser Diode Module KY-008 to construct a Laser Light Security System
using Arduino with Alarm. The objective of the project is to build a security system. The buzzer
alarm will begin to ring whenever any item blocks the LASER ray.
This project can be executed anywhere; in addition to buildings or other structures, it can also be
used to secure other valuable commodities like jewels, diamonds, priceless antiques in museums,
etc. With the LASER beam security system, many people secure their homes, offices, stores,
warehouses, etc.
Required Components
- Arduino UNO Board
- LASER Diode Module KY-008
- Buzzer
- LDR
- Resistors (10k)
- Push Button Switch
- Breadboard
- Connecting wires
KY-008 Laser Diode Module

A red laser beam in the dot shape is produced by the Laser Transmitter Module KY-008 for Arduino. A resistor and a red laser diode head with a wavelength of 650 nm make up the KY-008 Laser transmitter module. Use caution when handling the laser and avoid staring straight at its head.
The specifications
- Operating Voltage – 5V
- Output Power – 5mW
- Wavelength – 650nm
- Operating Current – less than 40mA
- Working Temperature – -10°C ~ 40°C [14°F to 104°F]
- Dimensions – 18.5mm x 15mm [0.728in x 0.591in]
Circuit Diagram

Working
The project essentially operates on the interruption principle. If the LASER light is cut off in any way, the alarm will sound unless it is manually reset. The laser is a focused light source that emits a single-color, straight beam of light.
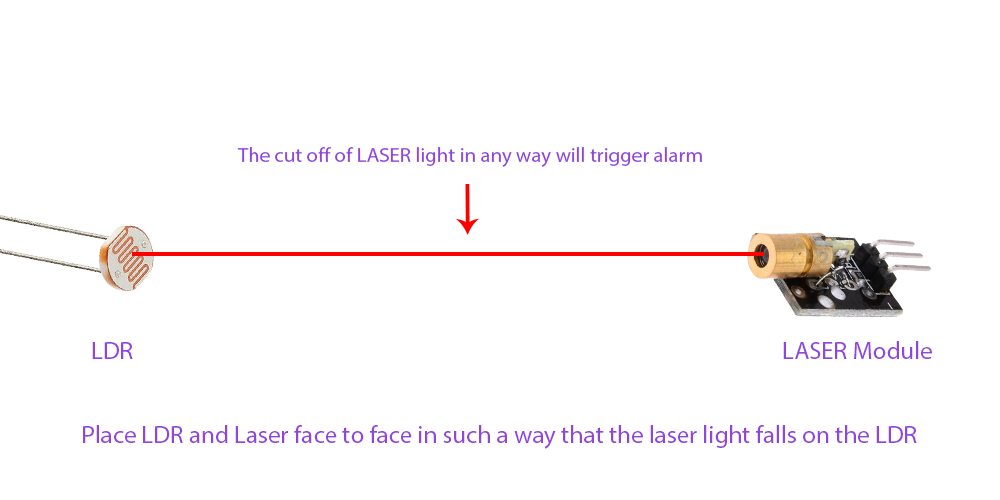
Since the LDR is light-sensitive, when a laser beam strikes it, it produces a voltage. The voltage output of the LDR varies as the laser beam is blocked from reaching it, and eventually, the alarm will sound.
Source Code
#define laser = 2;
#define ldr = A1;
#define sw = 4;
#define buz = 3;
int threshold = 12;
void setup() {
pinMode(laser, OUTPUT);
pinMode(sw, INPUT_PULLUP);
Serial.begin(9600);
}
bool alarm= false;
void loop() {
if ( alarm==false) {
delay(1000);
digitalWrite(laser, HIGH);
delay(10);
unsigned long current = millis();
while (millis() – current < 1000) {
int Value = analogRead(laser);
if (Value > threshold) {
alarm = true;
break;
}
delay(10);
}
digitalWrite(laser, LOW);
} else {
tone(buz, 440);
if (! digitalRead(sw)) {
alarm = false;
noTone(buz);
}
delay(10);
}
}
Conclusion
I hope all of you understand how to design a Laser Security System Using Arduino . We MATHA ELECTRONICS will be back soon with more informative blogs.