
Gas Leakage Detection and Email-Notification

There are several different MQ sensors on the market that can detect different things including alcohol, ethanol, carbon monoxide, hydrogen gas, ammonia, smoke, butane, methane, LPG, and smoke. Systems for smoke detection, gas detection, and air quality monitoring frequently employ these sensors. The MQ4 gas sensor and the MQ135 air quality sensor were two that we previously employed.
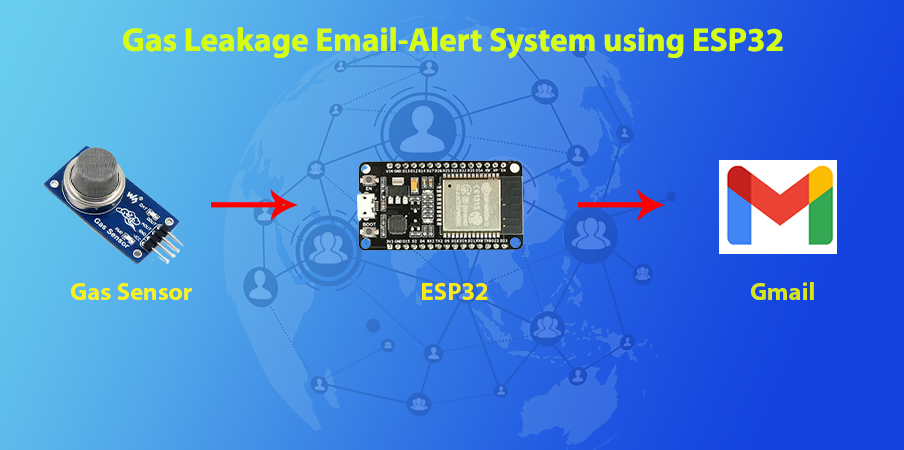
Today, we’ll construct an LPG leakage detector utilising the ESP32 and the MQ-5 sensor. We will use the IFTTT platform and ESP32 HTTP GET REQUEST to send emails to any address. The email is automatically delivered when a gas/LPG leak is detected that exceeds a specified threshold value. Thus, this ESP32 Email Notifier system alerts users to promptly close the valve or take other action. This system can be used as a safety system in industry or at home
Hardware Required
- ESP32 Board
- Gas Sensor
- Data Cable
- USB Adapter
- Breadboard
Software Required
- Arduino IDE
- IFTTT (Online Platform)
ESP32 Development Board
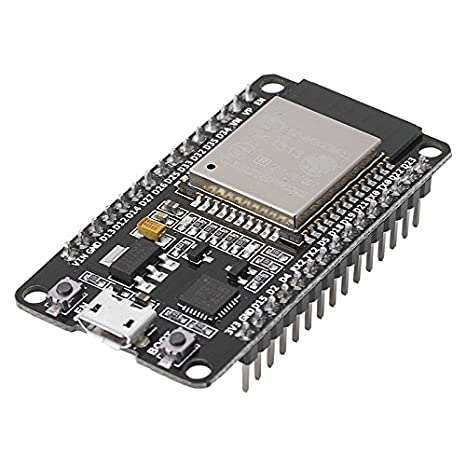
ESP32 Development board is based on the ESP WROOM32 WIFI + BLE Module.It is a compact,
simple system development board that is simply placed into a solderless breadboard and is
powered by the most recent ESP-WROOM-32 module.It includes the micro-USB connector, LDO
regulator, reset and boot mode buttons, USB-UART bridge, and all of the essential support
circuitry for the ESP-WROOM-32. The developer has access to all significant GPIOs.
- *Small volume, easily embeded to other products
- *Strong function with support LWIP Protocol, Freertos
- *Suppporting three modes : AP, STA, and AP+STA
- *Supporting Lua program, easily to develop
- *Includes CP2102 USB-UART bridge
MQ5 Gas Sensor
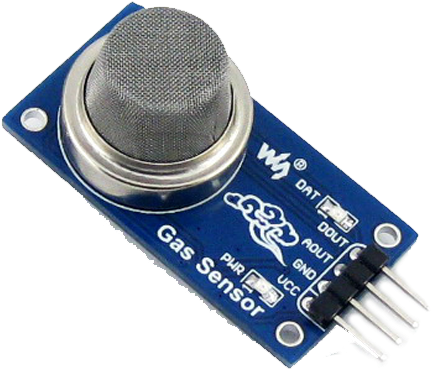
MQ5 Gas Sensor is the most commonly used analog gas sensor. The MQ5 gas sensor detects a
variety of gases, including hydrogen, carbon monoxide, methane, and LPG. The sensor interacts
with gas to determine its concentration between 100ppm and 3000ppm.
When a gas interacts with this sensor, it is first ionized and then adsorbed by the sensor’s sensing
element. This adsorption generates a potential difference in the element, which is transmitted to
the controller unit as the current through an analog output pin. Thus, the analog current is
measured as an output that grows with a rising gas level.
The Sensor operates between 3V and 5V and includes both an analog and digital output. It has four
pins labeled VCC, GND, D0, and A0.
Let’s Begin to Build
STEP 1 : First of all, Let’s Begin with the circuit. All you want to do is just connect the MQ5 sensor module with the ESP32 like in the circuit below.
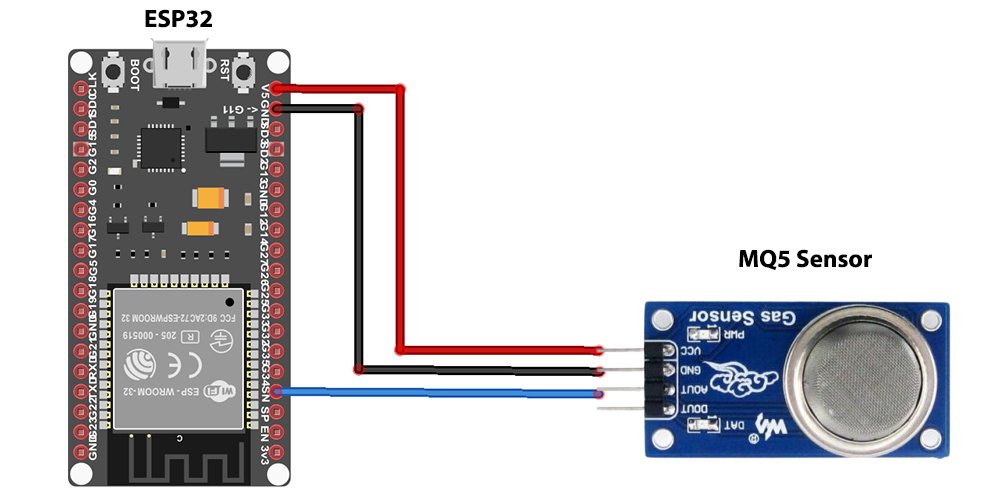
Connect the sensor VCC pin to the 5v pin of the ESP32 and connect the Ground (GND) pin of the sensor with the GND pin of ESP32. Also, Connect the analog output pin (A0/AOUT) to PIN 34 of ESP32.
If your connected all connections properly, let’s move to the STEP 2.
STEP 2 :
Now Let’s Move to the software side:-
For getting E-mail notifications, you need a Gmail account. If your going to use your old Gmail account you can goto STEP 4. Otherwise if you dont have an Email, you need to create an acoount on Google to get a new Gmail , Follow the intsructions below.
To create a new Google account, Open the link given . https://accounts.google.com/signup/v2/webcreateaccount?flowName=GlifWebSignIn&flowEntry=SignUp
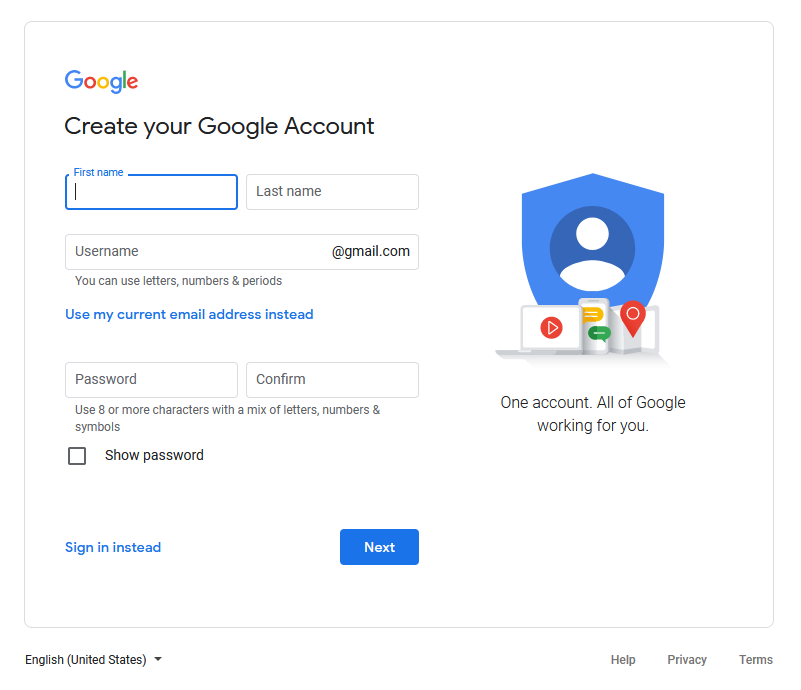
You will get a page like this.
Fill in your details and follow the instructions. Select a Gmail address you want. Also, give it a strong password and remember these details. We will need these details later.
STEP 2 : Alright, so you have Gmail. Let’s Go to the IFTTT Website to set up our Account and start using the service. https://ifttt.com
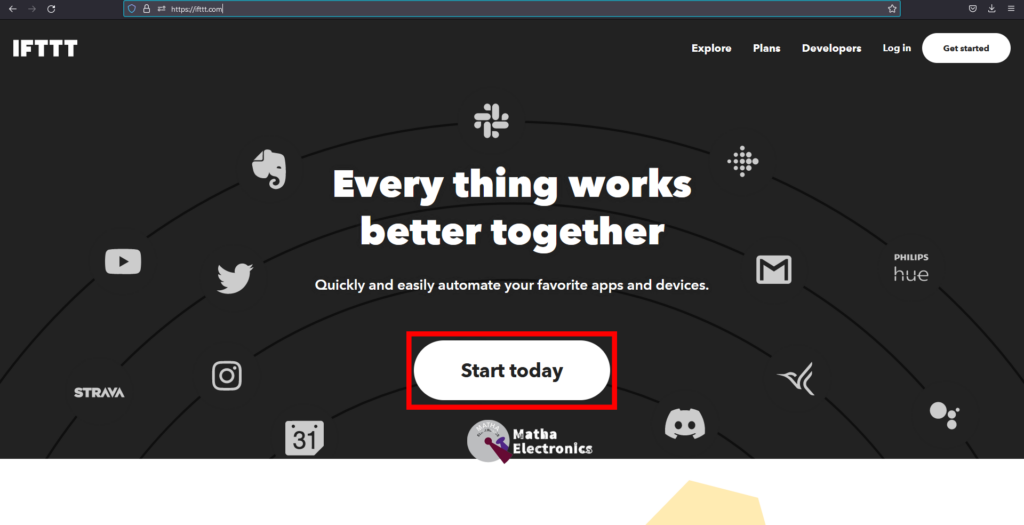
The home page of IFTTT will be like this. Click on “Start Today” to begin.
If you have an Apple account or Facebook account you can use it to create an acoount on IFTTT. but i recommend you to use “Connect with Google”.
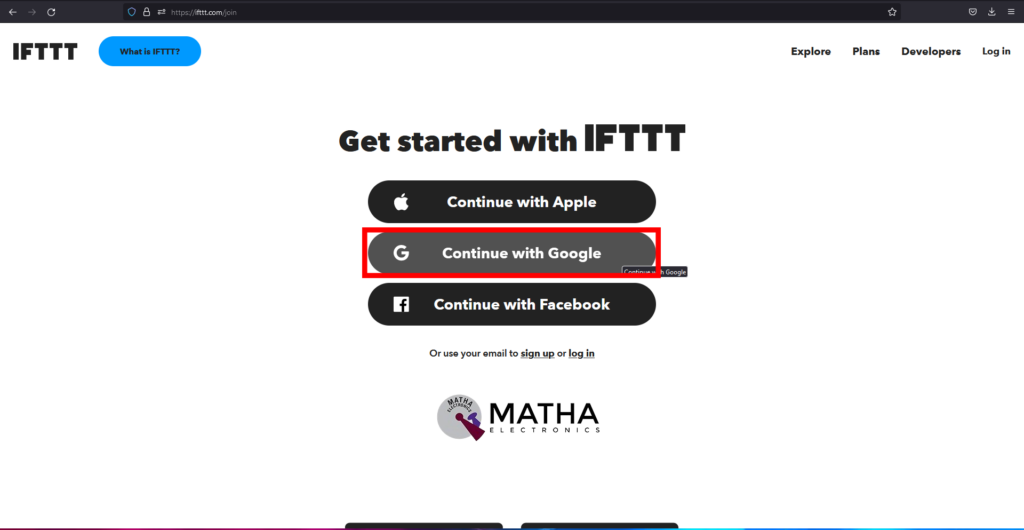
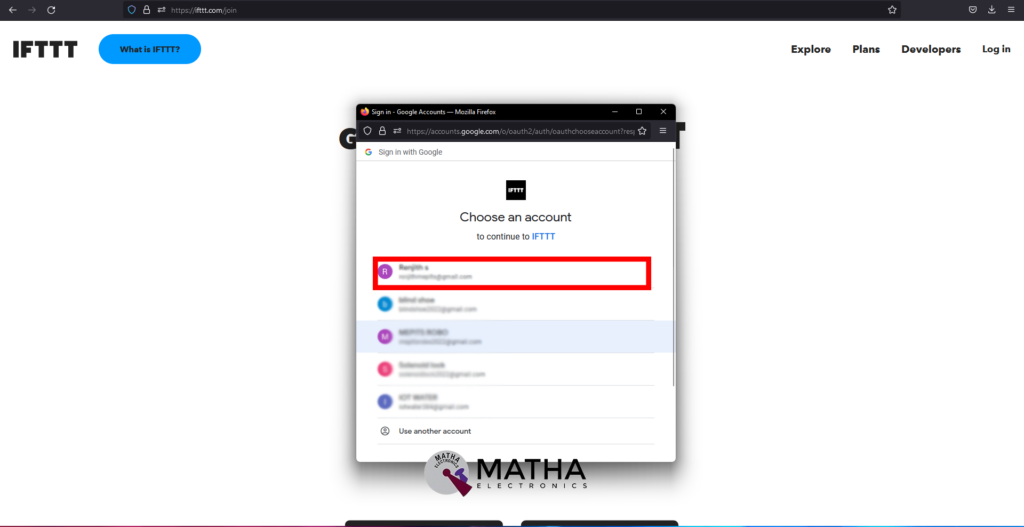
Select the google account we created earlier
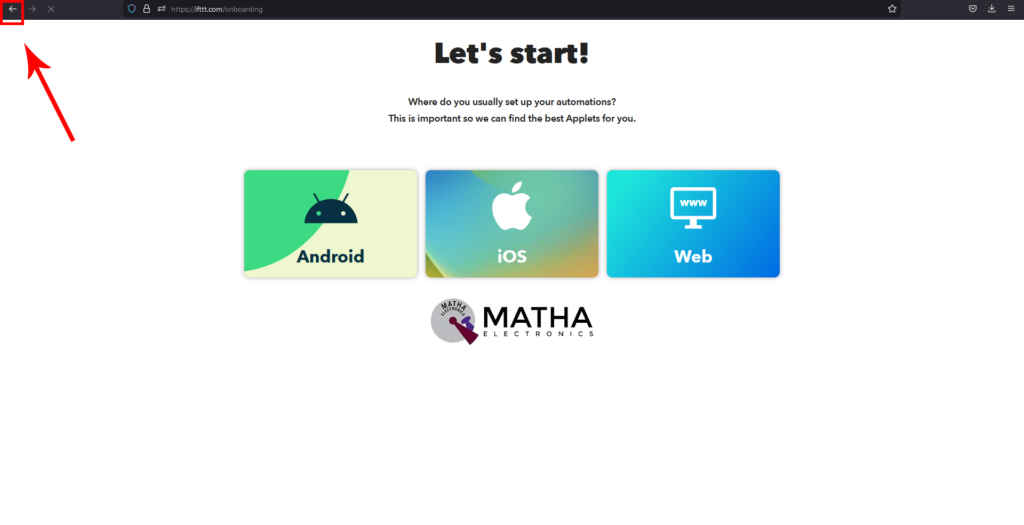
If you wish to go through a tour you can follow the instructions. If not, click the back button.
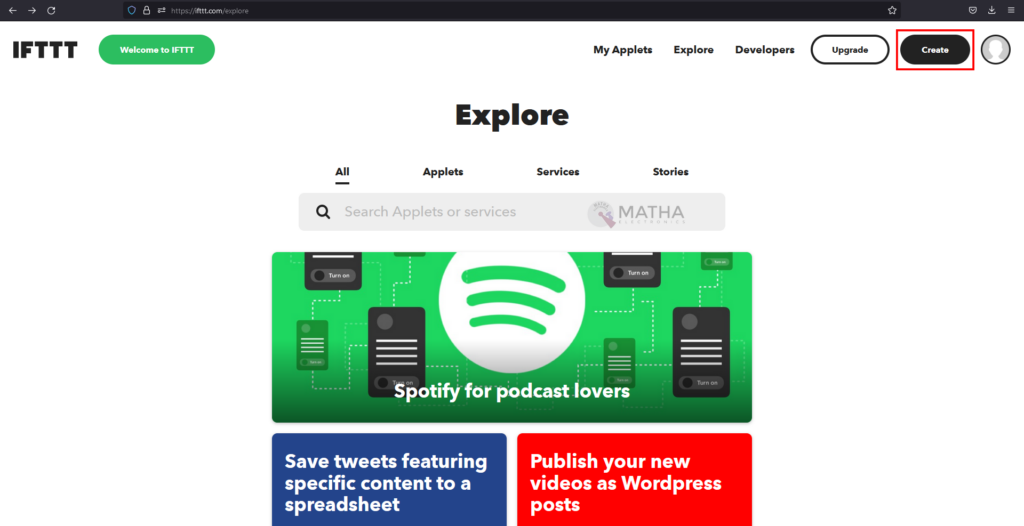
Click on Create to create new Applets.
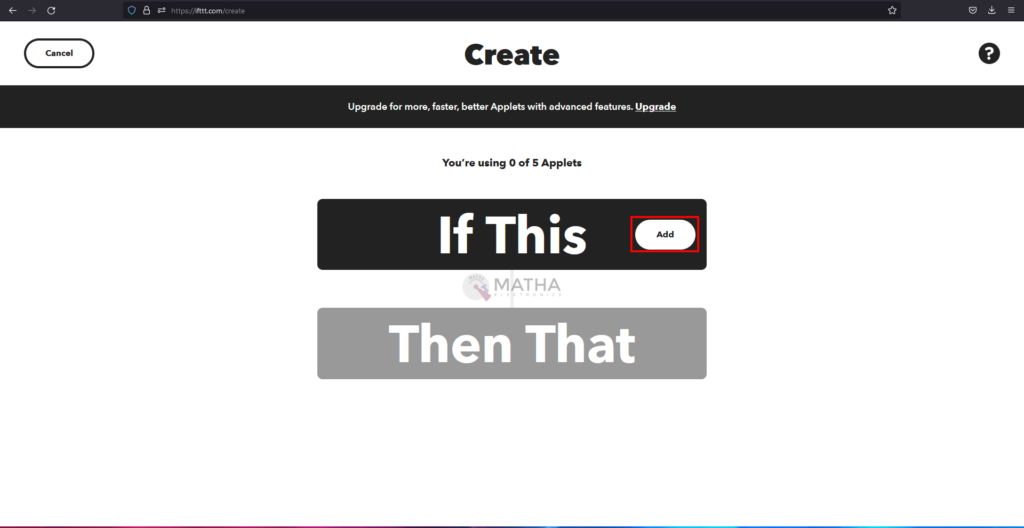
Click on “Add” button shown in the image to add a trigger.
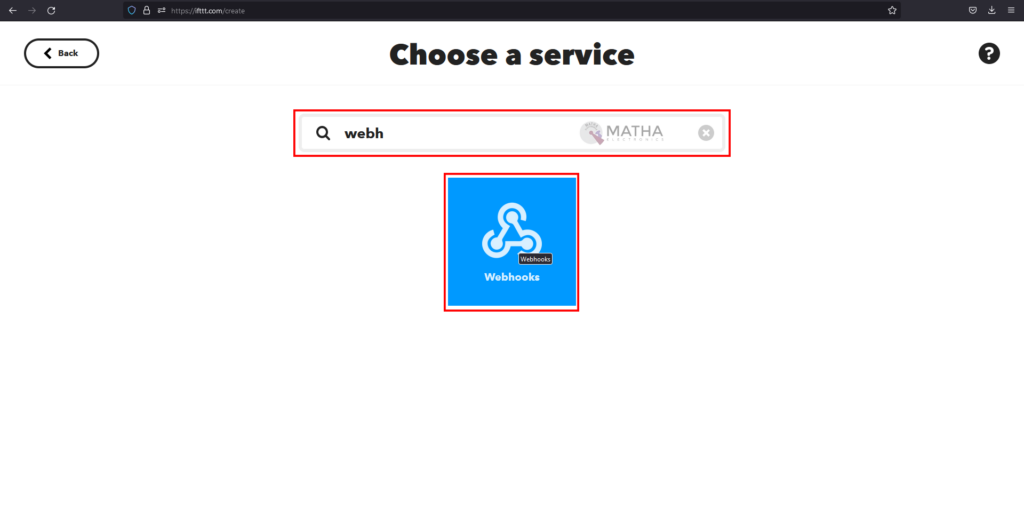
Search “Webhooks” on the search bar and select “Webhooks” Service.
Now we need to choose a trigger from the list of boxes shown below.
Select “Receive a web request” trigger .
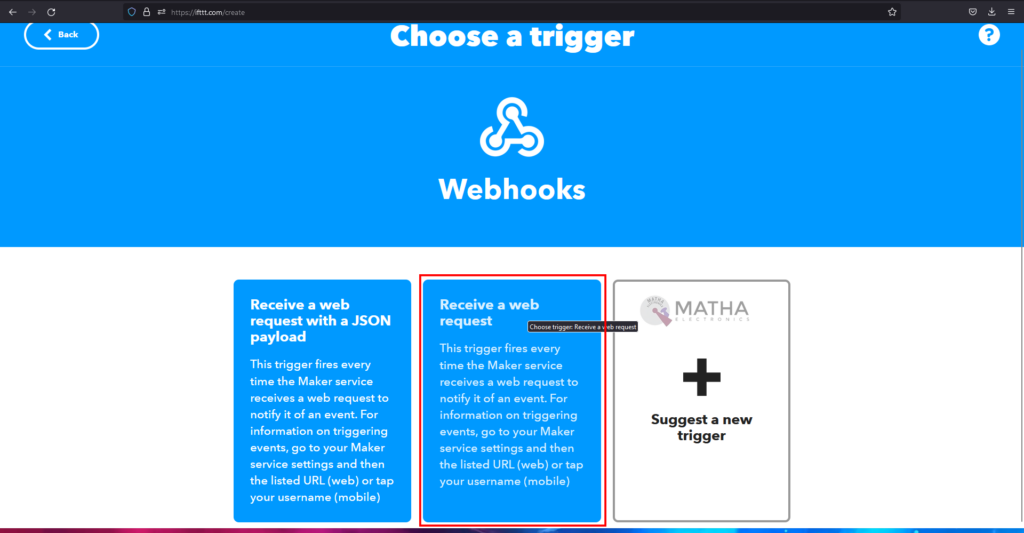
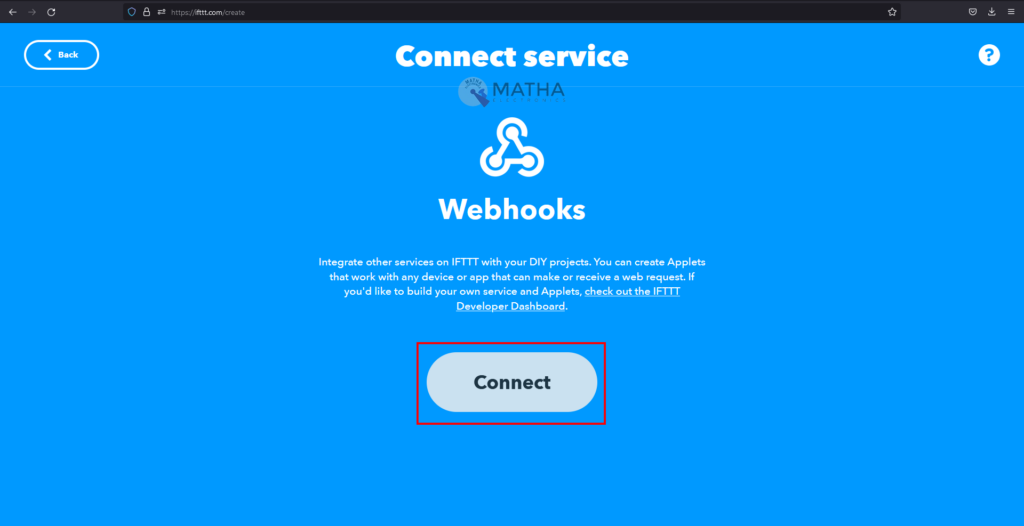
To connect service, Click on “Connect” button
Enter “gas” on the “Event Name” box and click on “create trigger“. You can choose your likely event name, but you will have to change this name on the program.
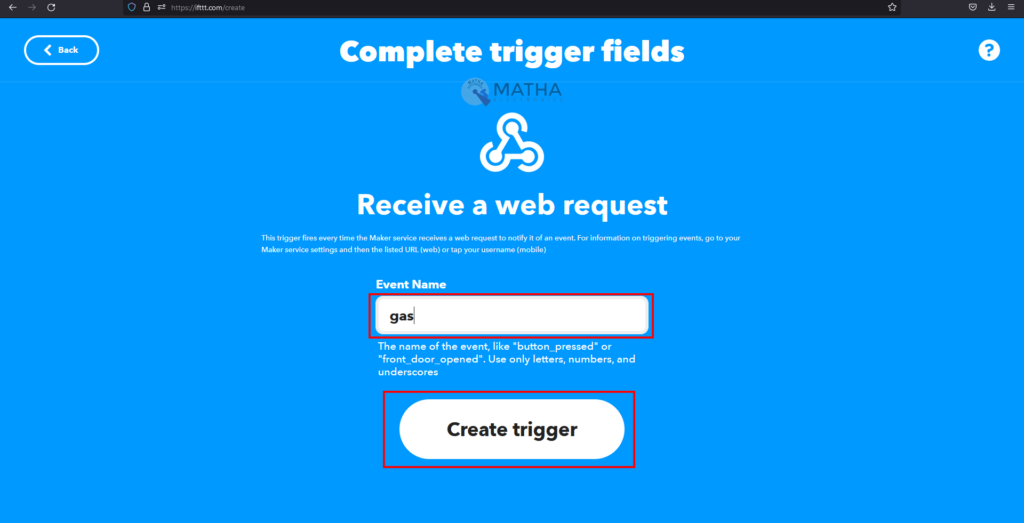
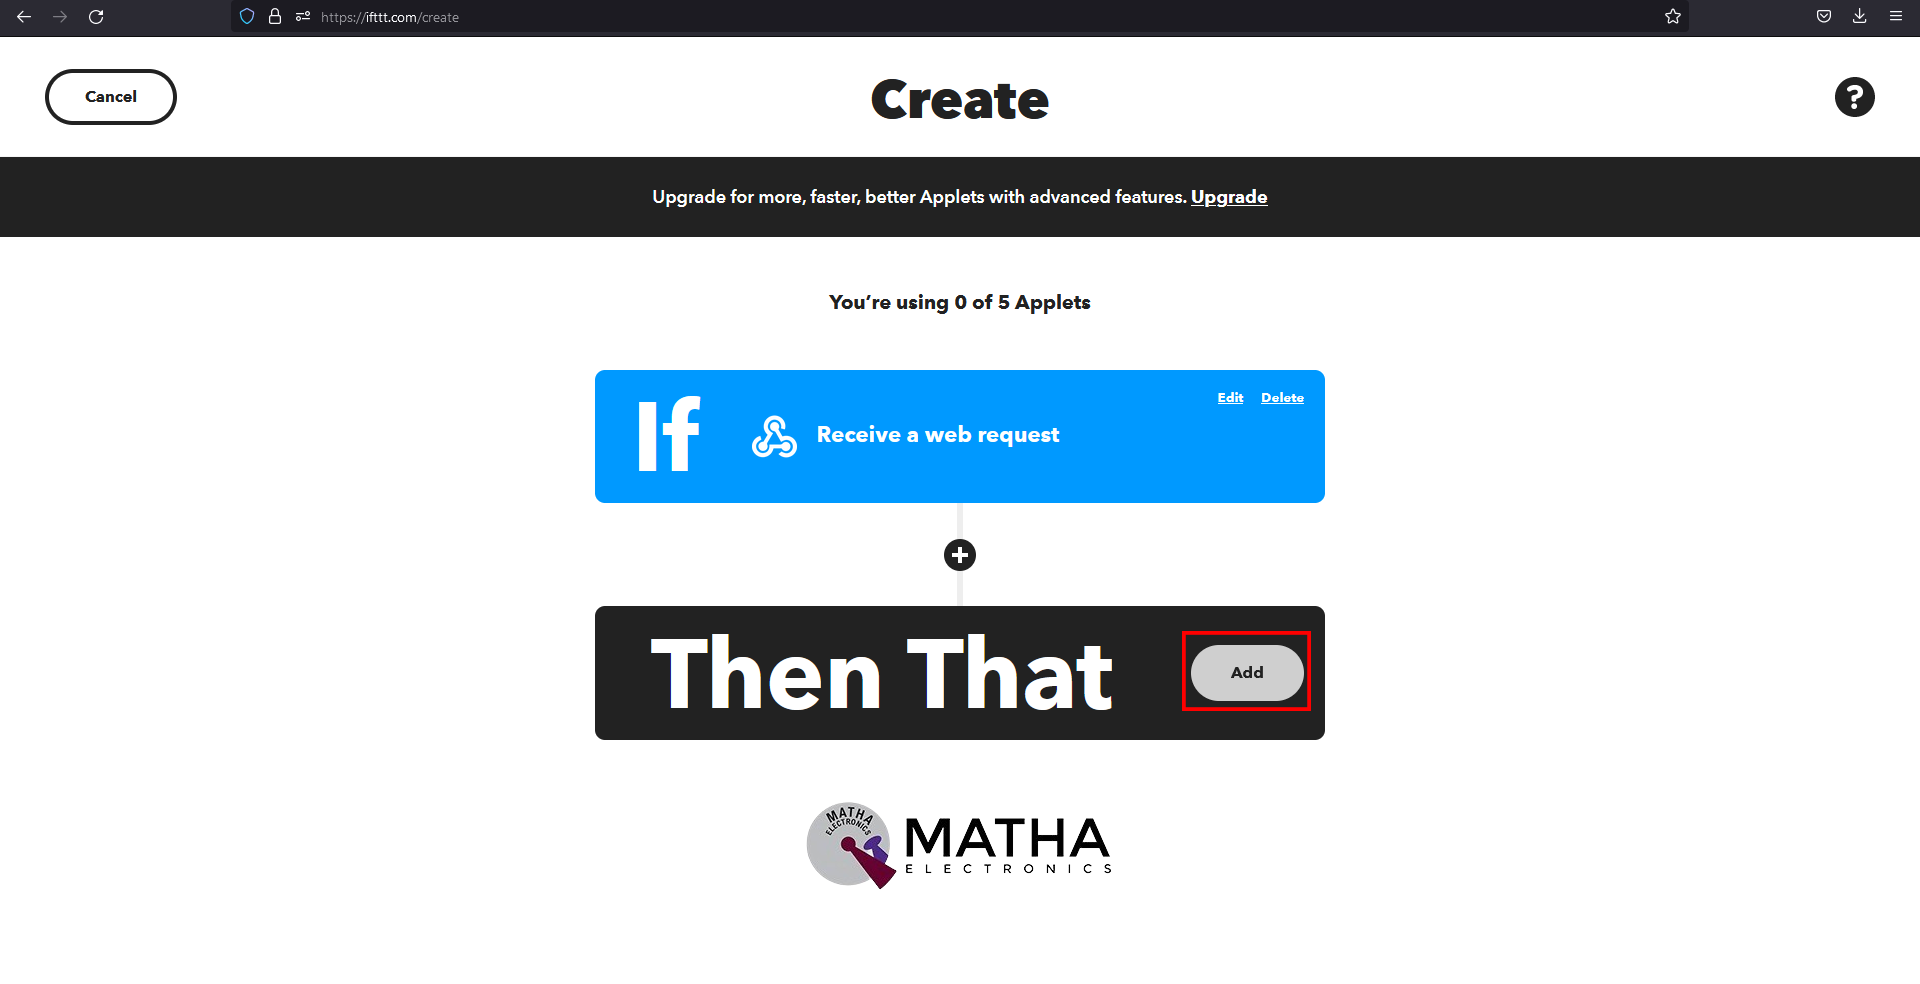
We have now successfully created a trigger event. Now we have to choose what to happen when the trigger triggers.
Search for “Email” and Select “Email ” Service box.
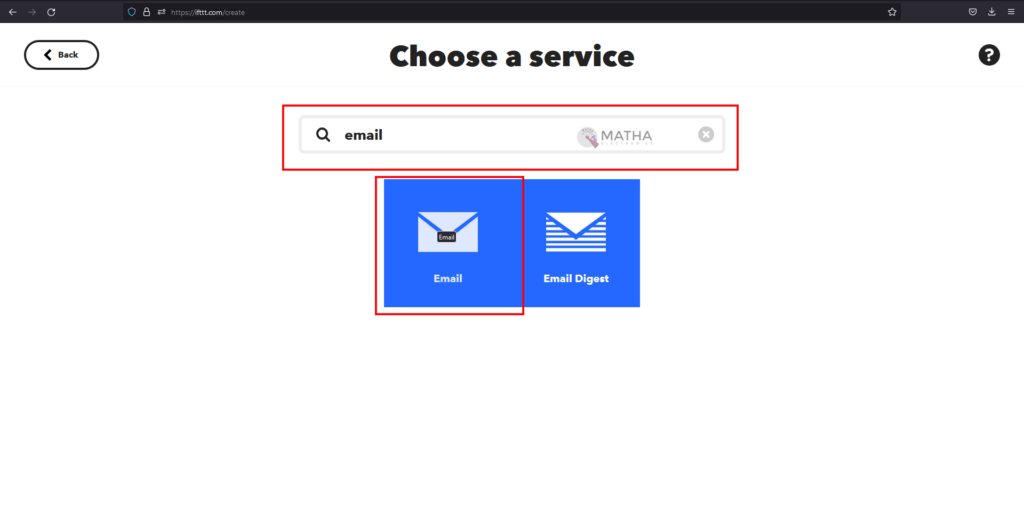
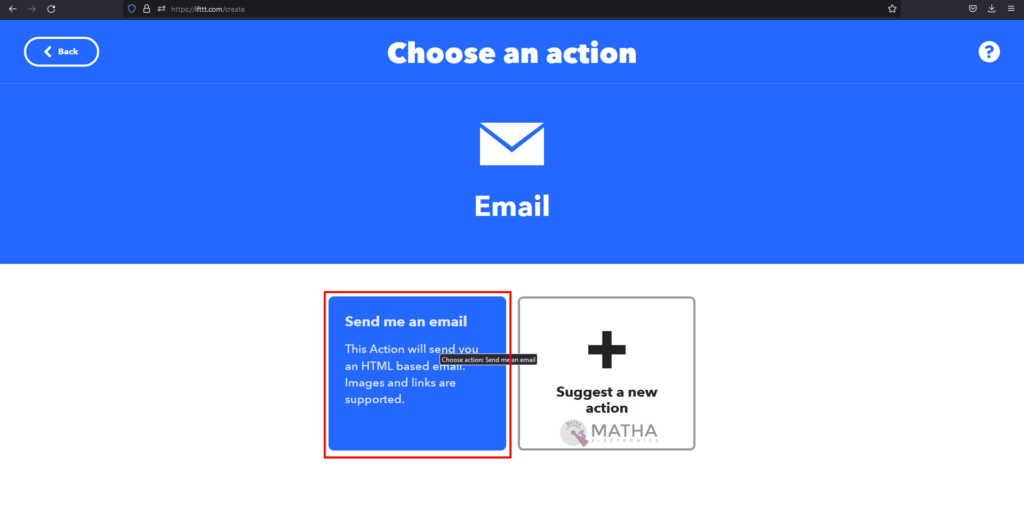
Choose the “Send me an email” action.
Here you can see two boxes, “Subject“, and “Body“. It is the email format. Here you can give whatever text you wish.
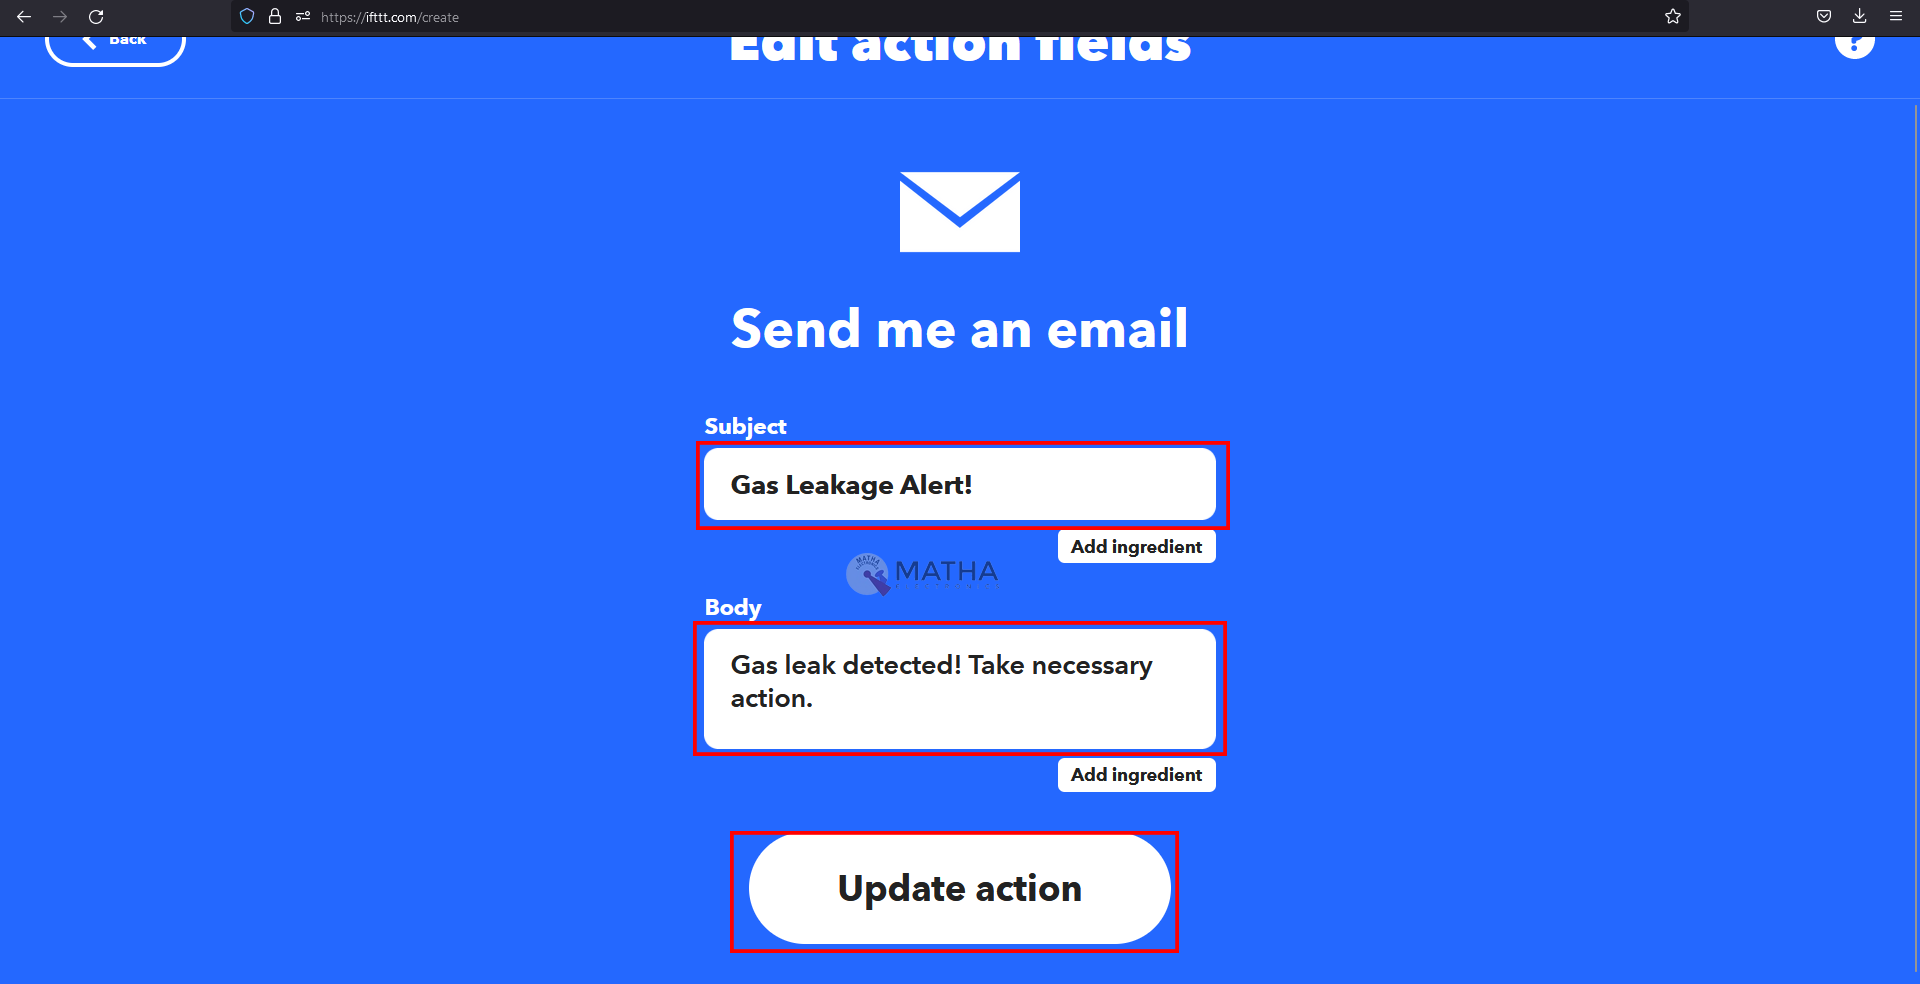
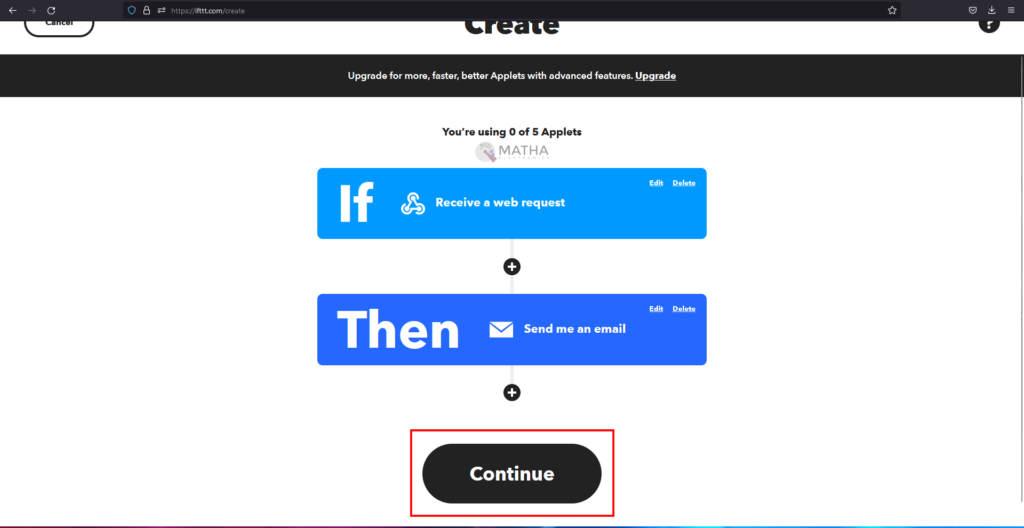
If everything you did correctly, click on the “Continue” button.
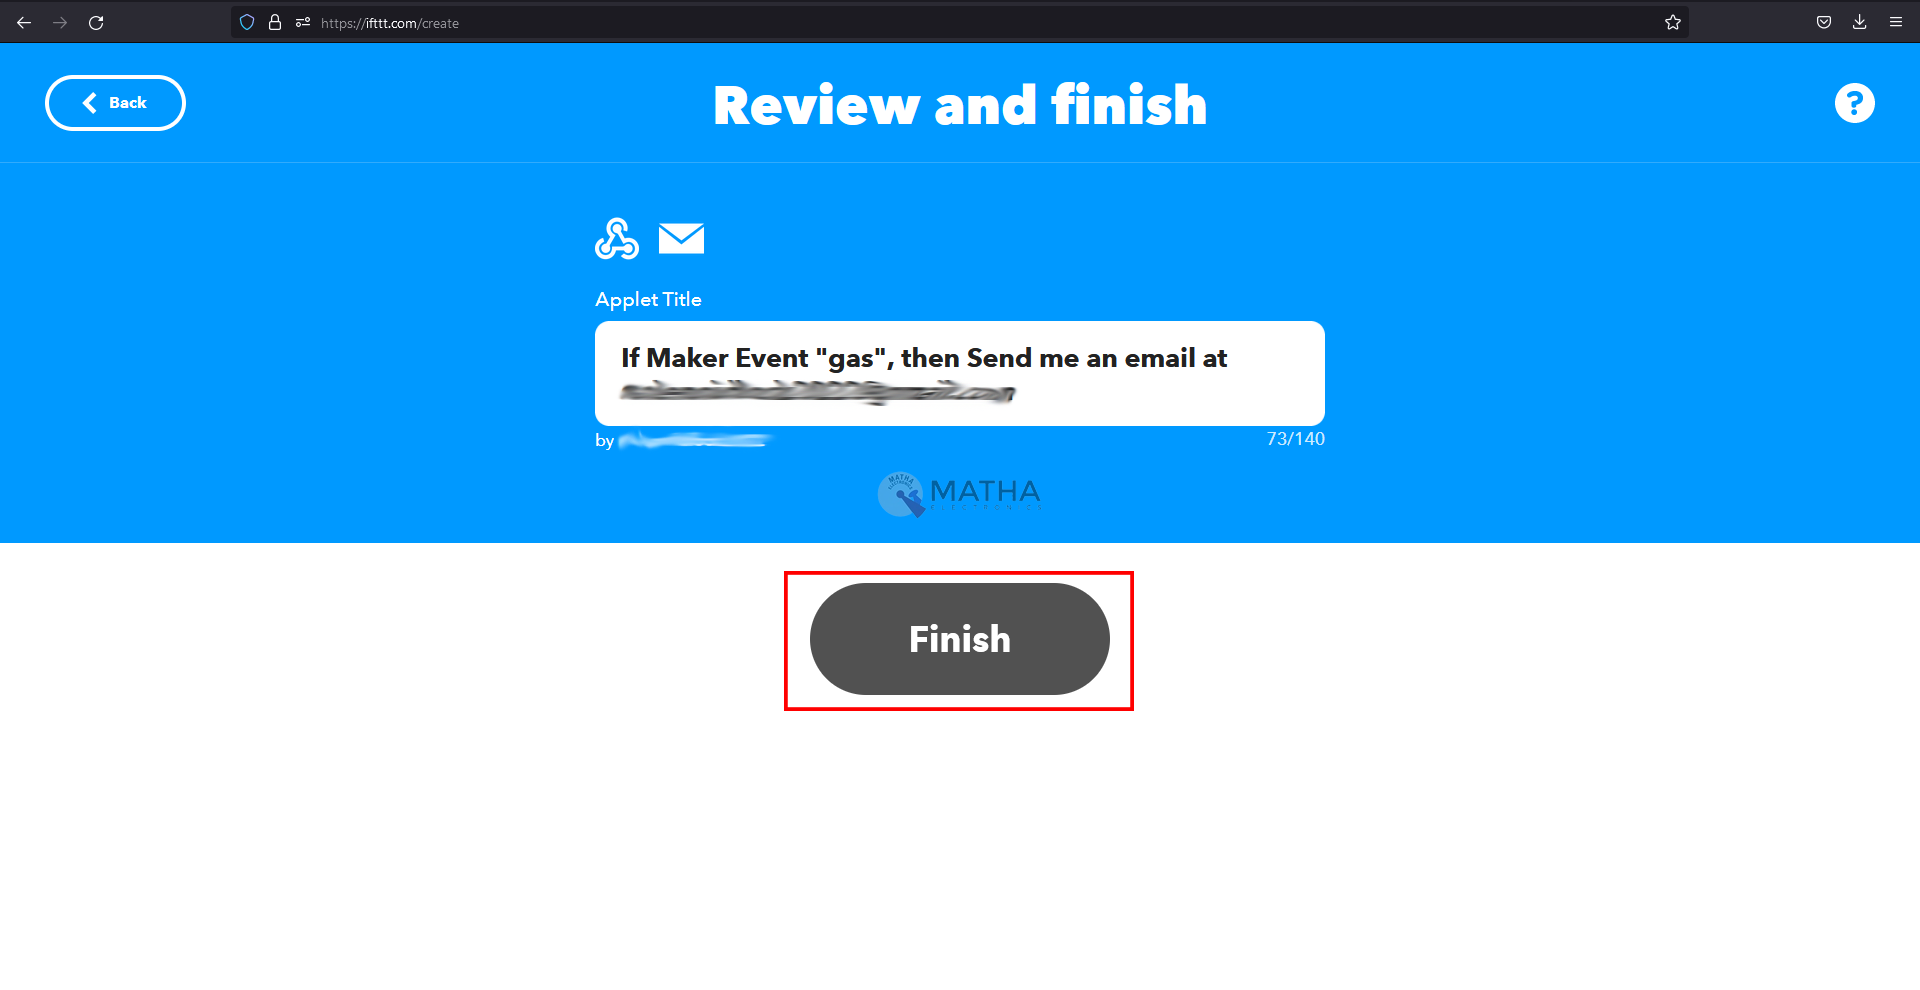
If your applet title looks like this ” if Maker Event “gas” , then Send me an email at **your email** ” . Then let’s click on “Finish” .
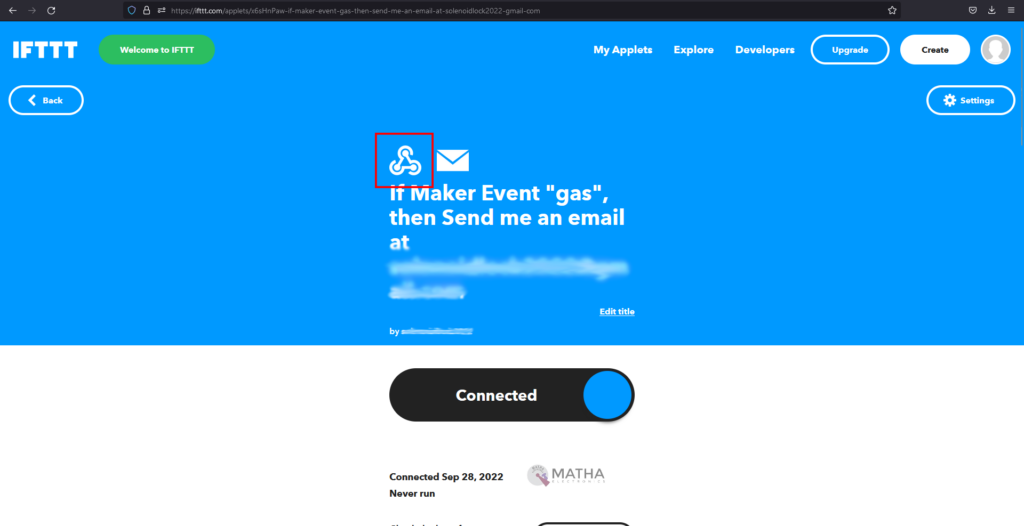
You can see a button with text connected. Now let’s click on the ” Webhook ” icon.
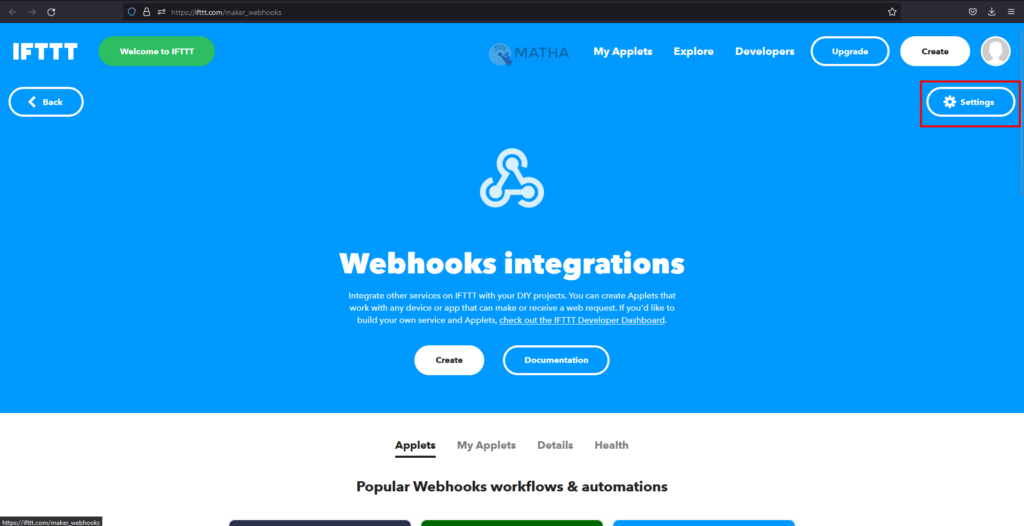
Now let us go to the “settings” tab of “Webhook” to find the URL with our key.
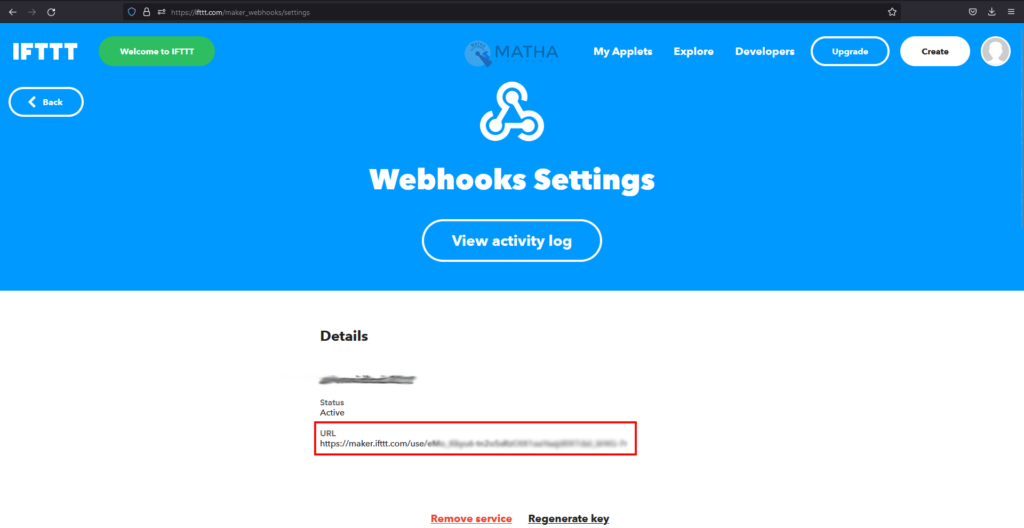
Now Copy and paste the URL into the code.
Code
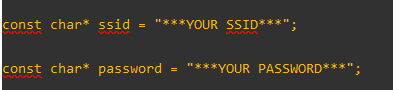
Here replace ” ***YOUR SSID*** ” with your SSID.

Also, replace the URL “https://maker.ifttt.com/trigger/gas/with/key/{YOUR KEY}” with the URL copied earlier.
Here is your full code. Copy and Paste it into the Arduino IDE and Upload it to the ESP32.
#include <WiFi.h>

#include <HTTPClient.h>

**************************************************************************************************************

String serverName = "https://maker.ifttt.com/trigger/gas/with/key/{*********YOUR KEY*********}";

**************************************************************************************************************

const char* ssid = "***YOUR SSID***";

const char* password = "***YOUR PASSWORD***";

#define sensorPin 34
#define threshold 40

unsigned long lastTime = 0;
unsigned long timerDelay = 15000;

void setup() {
  Serial.begin(115200);

  WiFi.begin(ssid, password);
  Serial.println("Connecting");
  while (WiFi.status() != WL_CONNECTED) {
    delay(500);
    Serial.print(".");
  }

  Serial.println("");
  Serial.print("Connected to WiFi network with IP Address: ");
  Serial.println(WiFi.localIP());

}

void loop() {

  unsigned int sensorValue = analogRead(sensorPin);
  unsigned int outputValue = map(sensorValue, 0, 1023, 0, 255);

  if (outputValue > threshold) {
    if ((millis() - lastTime) > timerDelay) {

      if (WiFi.status() == WL_CONNECTED) {

        HTTPClient http;

        http.begin(serverName.c_str());

        int httpResponseCode = http.GET();

        if (httpResponseCode > 0) {
          Serial.print("HTTP Response code: ");
          Serial.println(httpResponseCode);
          String payload = http.getString();
          Serial.println(payload);
        }
        else {
          Serial.print("Error code: ");
          Serial.println(httpResponseCode);
        }

        http.end();
      }
      else {
        Serial.println("WiFi Disconnected");
      }
      lastTime = millis();
    }
  }

}
Conclusion
Hope this blog helps you to understand how to design a Gas Leakage Detector with Email Alert Notification using ESP32. We, MATHA ELECTRONICS will come back with more informative blogs.