
This article tells you how to work on Raspberry Pi GPIO using Python language.
The Raspberry Pi features two rows of GPIO pins, which connect the Raspberry Pi to the rest of the world. In this post, I’ll show you how to use the Python language to work with the Raspberry Pi GPIO.
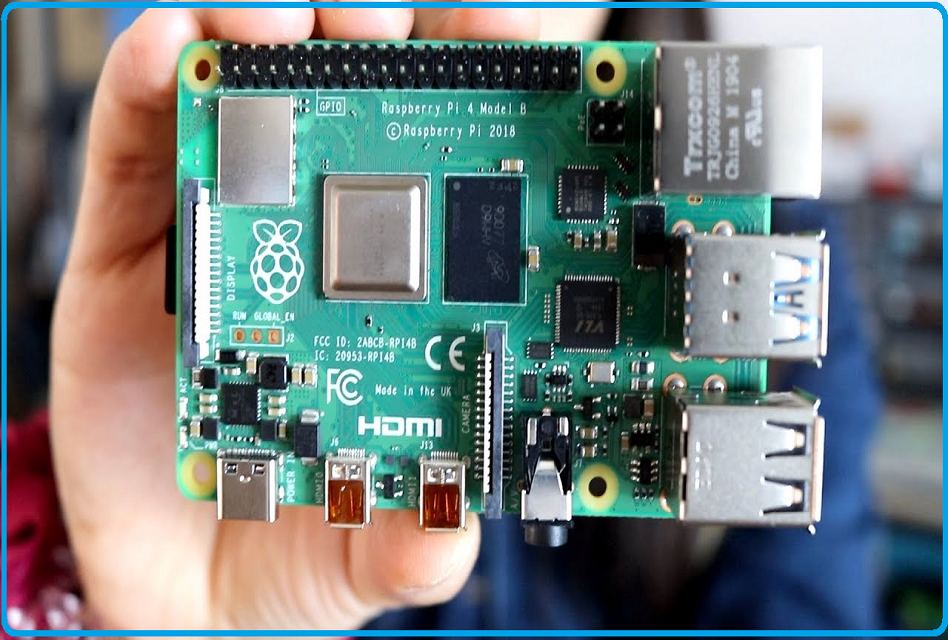
As you may be know, the Raspberry Pi organisation recently released the Raspberry Pi 4, a new development board with a slew of new features. In today’s tutorial, we will show you how to get started with the world of physical computing and GPIO through Python programming!
What is GPIO and How does it work?
GPIO, or General Purpose Input Output, is a standard interface for digital input and output found on microcontrollers and SBCs. It enables these devices to control external components such as motors and infrared transmitters (output) as well as receive data from sensor modules and switches (input) (input). In essence, GPIO allows our Raspberry Pi to communicate with a wide range of external components, making it useful for projects ranging from a weather station to a self-driving robot.
Software configurations will be necessary for GPIO pins to work. Don’t worry; beginner-friendly Python packages like GPIOzero exist to make physical computing more accessible to everyone. GPIO access libraries such as wiringPI are also available for more experienced programmers who prefer C or C++.
The GPIO pin on the Raspberry Pi can do a lot of things that small-scale microcontrollers can’t. Multiple language support, a basic IoT ecosystem, and more are included. These features make programming easier for programmers. A sensor attached to the development board detects the data and delivers it to Raspberry Pi, which processes it according to your supplied code. Without a doubt! This is how we link the development board to the rest of the world. Connecting to the outside world in this case entails connecting a number of sensors to the development board.
The Raspberry Pi, like the Arduino DUE, will not accept voltage levels higher than 3.3V on its GPIO pins. This means that you can’t use a Raspberry Pi to run a sensor that requires a voltage higher than 3.3 volts. The Raspberry Pi 4 can deliver a maximum amperage of 16ma on each GPIO pin, according to the amperage rating.
In addition to simple input and output devices, the GPIO pins can be used for a number of different functions, some of which are available on all pins and others which are only available on specific pins.
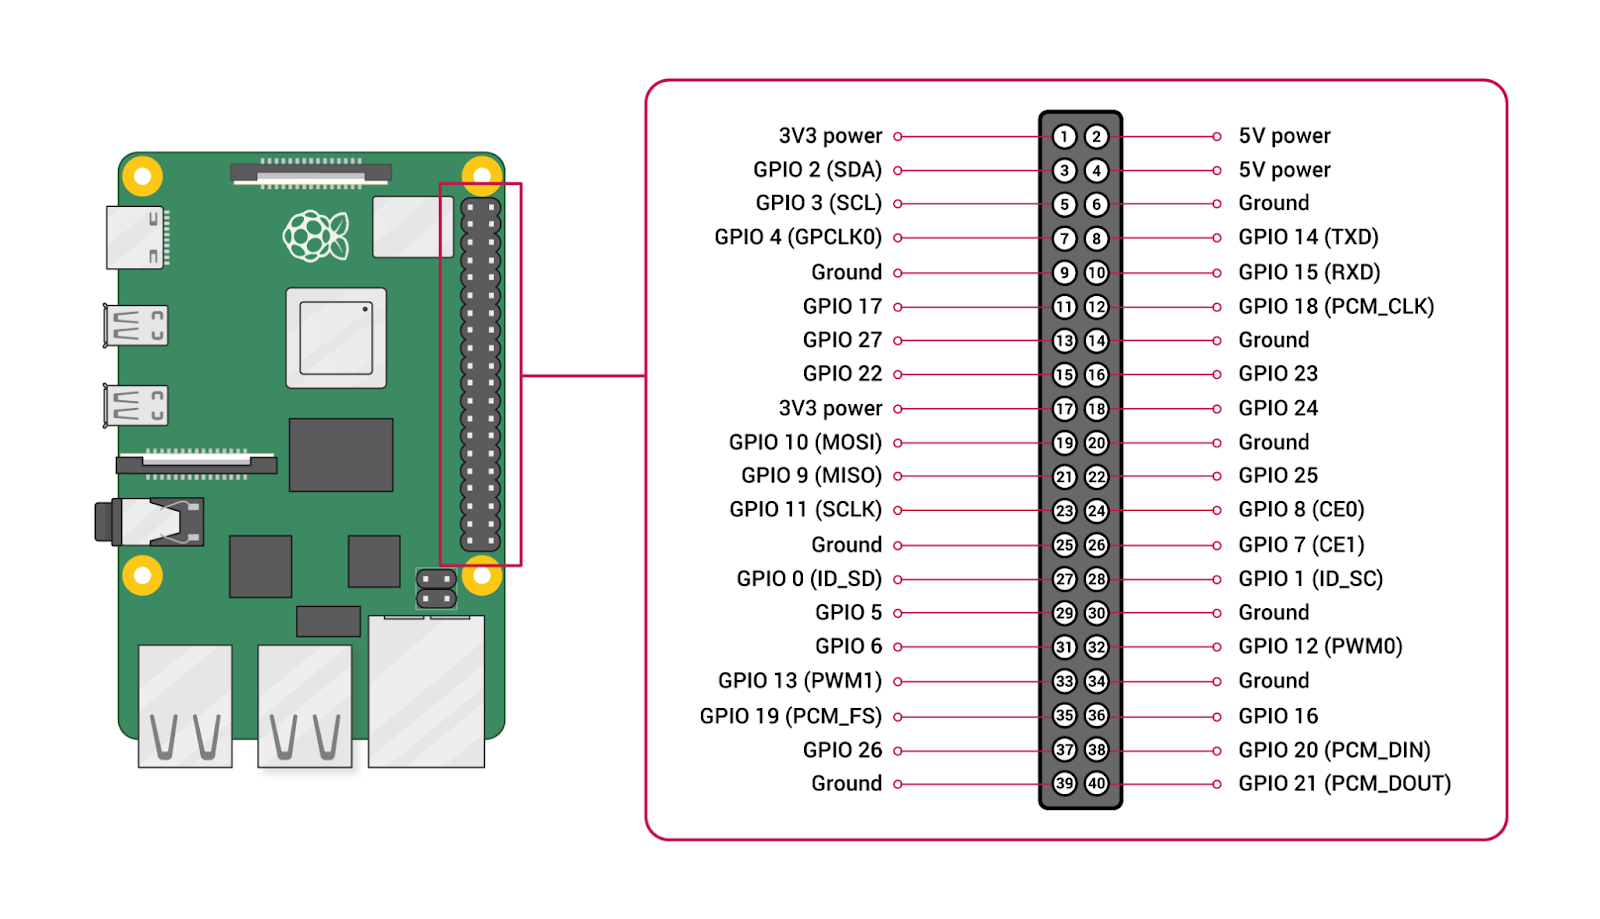
I2C Communication Protocol:
- I2CData = (GPIO2), Clock = (GPIO3)
- EEPROM Data = (GPIO0), EEPROM Clock = (GPIO1)
SPI Communication Protocol:
- SPI0:
- MOSI (GPIO10),
- MISO (GPIO9),
- SCLK (GPIO11),
- CE0 (GPIO8),
- CE1 (GPIO7)
- SPI1:
- MOSI (GPIO20),
- MISO (GPIO19),
- SCLK (GPIO21),
- CE0 (GPIO18),
- CE1 (GPIO17),
- CE2 (GPIO16)
UART Communication Protocol:
- TX = (GPIO14)
- RX = (GPIO15)
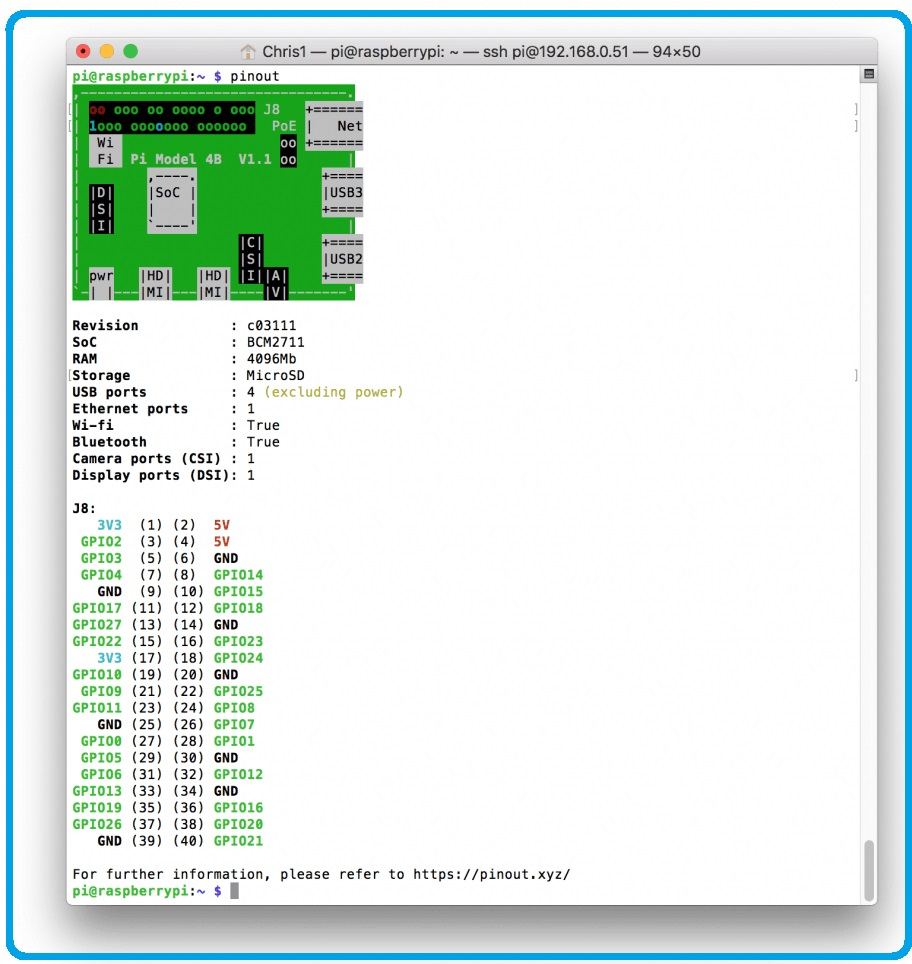
Explaining the Raspberry Pi GPIO Pinout
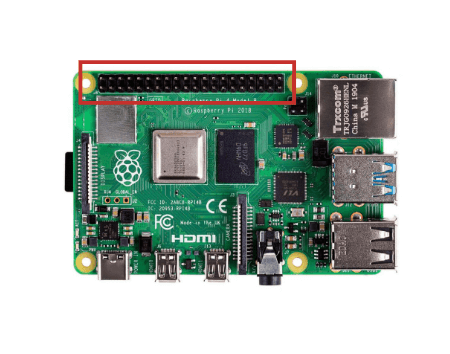
On the GPIO header of the Raspberry Pi B+, 2, 3, Zero, or the latest Raspberry Pi 4 Model B, you’ll find a total of 40 GPIO pins. Older RPI models, such as the Raspberry Pi Model B, only have 26 pins.
| GPIO Pin Type | Pin Description |
| GPIO | GPIO pins are standard general-purpose pins that can be used for turning external devices, such as an LED, on or off |
| POWER | 5V and 3V3 pins are used to supply 5V and 3.3V power to external components |
| I2C | I2C pins are used for connecting and hardware communication purposes with I2C compatible external modules. |
| SPI | SPI (Serial Peripheral Interface Bus) pins are also used for hardware communication, but with a different protocol |
| UART | UART (Universal Asynchronous Receiver / Transmitter) pins are used for serial communication. |
| DNC | Use of DNC (Do Not Connect) pins should be avoided. |
| GND | GND (Ground) pins refer to pins that provide electrical grounding in your circuits. |
Hope this blog helps you to understand basics on Raspberry Pi 4 GPIO. We ,MATHA ELECTRONICS will come back with more informative blogs.