How to design an ArduiPiano?
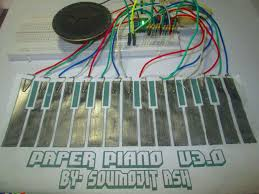
I’ll show you how to construct an Arduino-based piano in this fun DIY project. It’s a straightforward project that utilizes an Arduino Mega Board, a USB-MIDI converter, and a 5 PIN MIDI connector
Instead of asking how to build an Arduino-based piano, the relevant question is how to use Arduino to generate various tones. This Arduino functionality will be used to generate tones. The tone () function is another way to generate tones with Arduino.
You must first download and install the Tone Arduino library if it is not already loaded before you can start playing your piano. This can be downloaded from Github. If you’re not sure how to install third-party Arduino libraries in your version of the IDE, look at this guide on Arduino.cc.

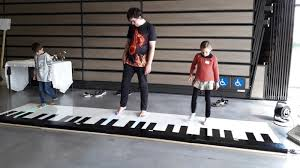
We’ll show you how to construct a piano that you can play with your feet.
Components Required
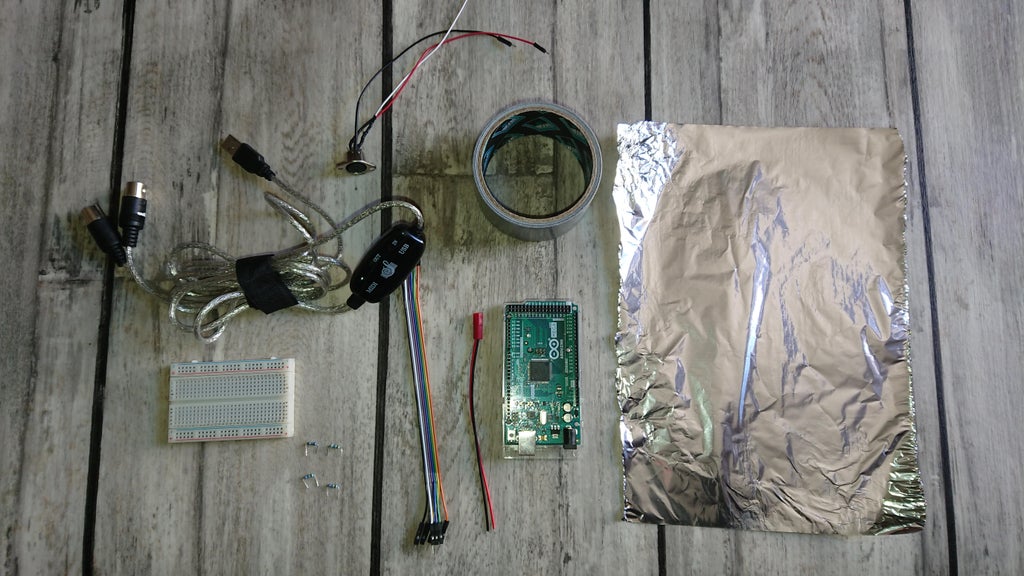
- An Arduino Mega board
- A breadboard
- Cables
- 12 resistances of 4,7 MΩ and 1 de 220 Ω
- 5 PIN MIDI connector
- USB-MIDI converter
- Adhesive
- Flooring
- Aluminum foil
- Male + female cables
Circuit Diagram

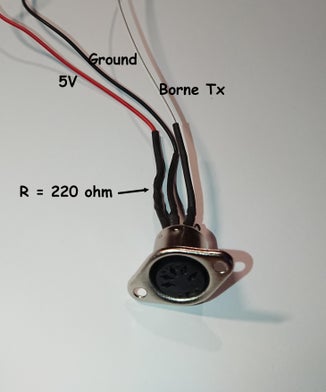
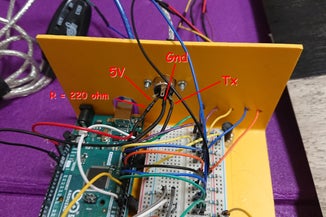
- The MIDI socket is connected to the 3 terminals: 5V, Gnd, and Tx14.
- We used terminals 3 to 10 and 22 to 25.
- Terminal 2 is common.
Design of the Arduipiano
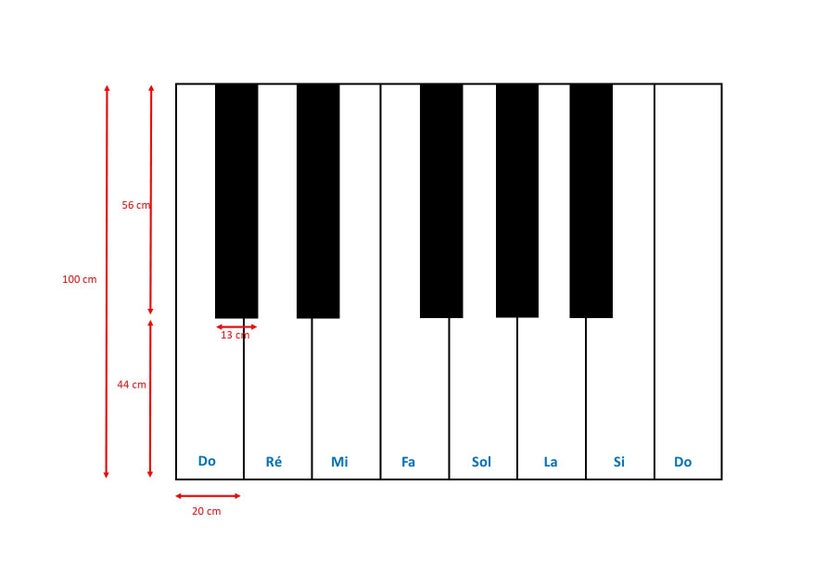
- For our piano, we multiplied by 8 the dimensions of the keyboard of a real piano.
- The black keys were then delimited using glue, and each note was spray painted.
- A black marker was used to sketch the outlines of the white keys.
Wiring Diagram
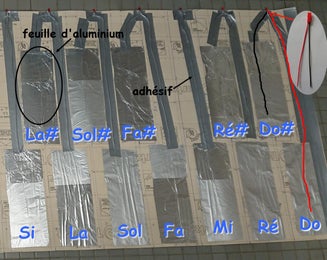
- We used a double connector for each note and its upper semitone (Do, Re, Fa, Sol, and La).
- We just used one connecting wire for the Mi and Si Notes.
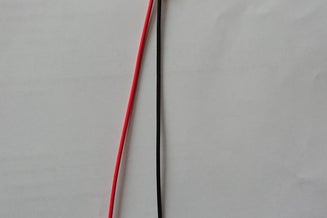
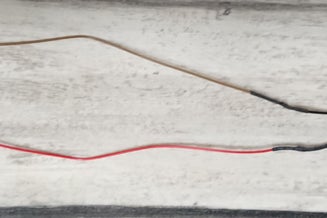
- Wires were attached to each connector so that they could reach the metal sheets completely.
- The thermosheath was then used to shield the welds.
- The wires were then inserted beneath each foil.
Connecting to the Arduino
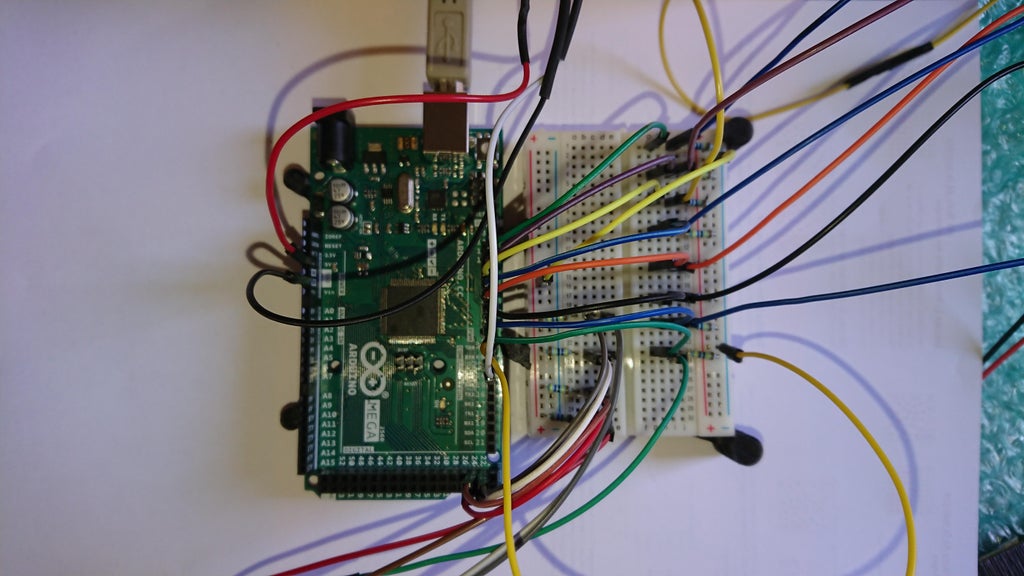
- Each note was wired to the Arduino board.
- To link the Arduino board and the breadboard, we 3D printed a bracket.
MIDI Connector
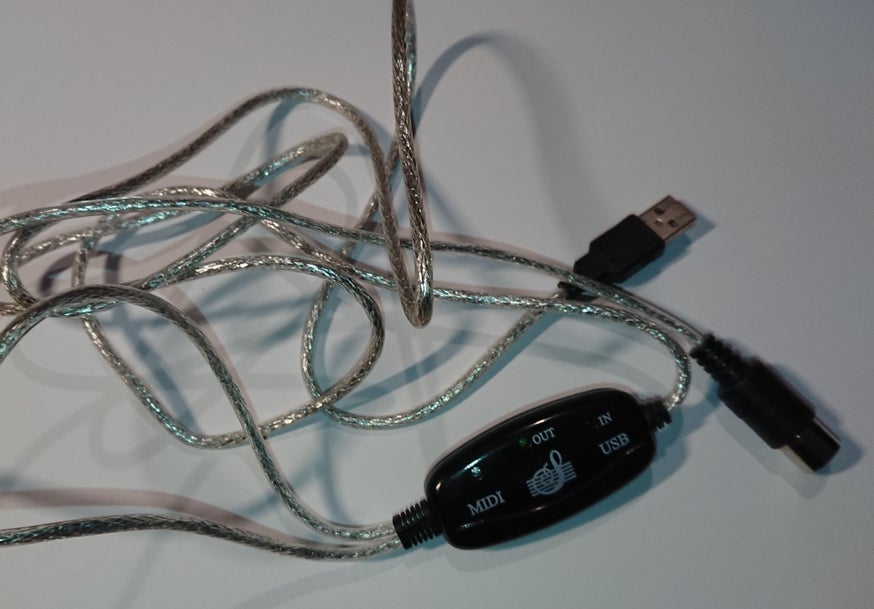
- To convert our signal with the Mulab interface, we used a MIDI connector inspired by the Arduino MIDI library.
- We use a USB-MIDI converter.
Card Support
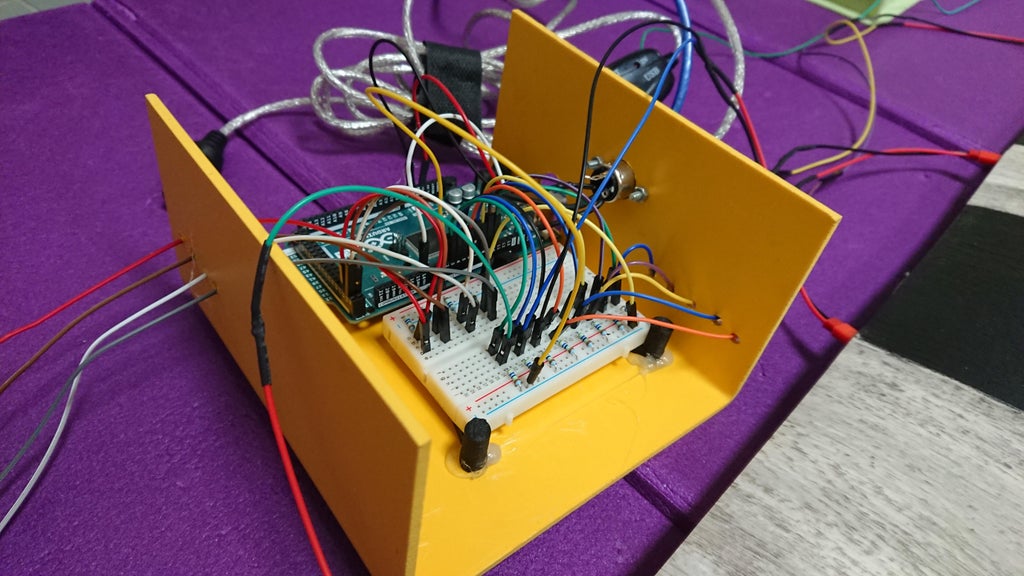
- This support was created to allow us to fix the MIDI connector as well as pass the wires.
- To feed the cables and secure the MIDI connector, we utilized a PVC plate that we bent and drilled.
Troubleshooting
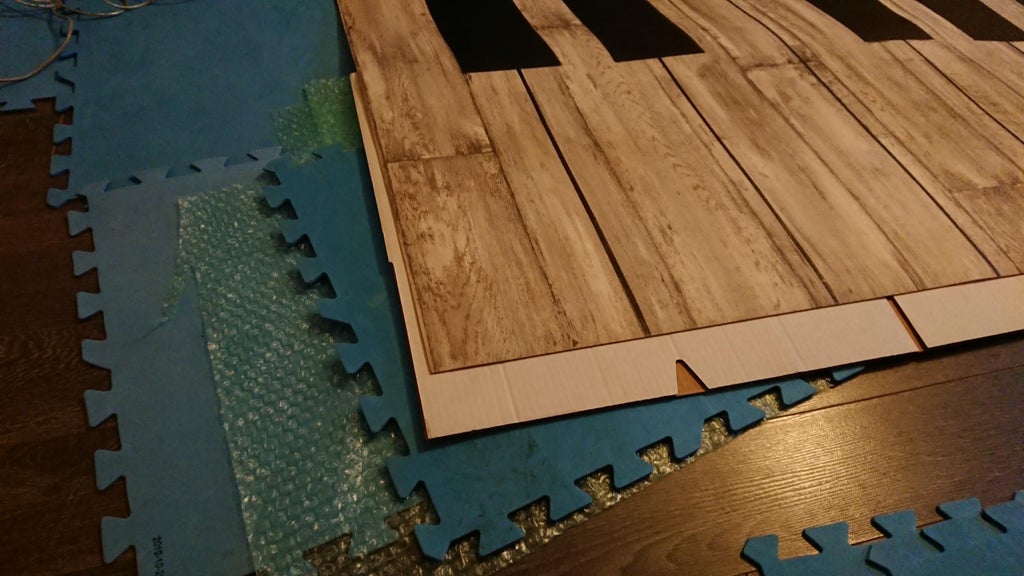
- When it came to putting our piano on the floor, we had some challenges. The serial port’s values were extremely low.
- So we used foam tiles and bubble wrap to separate our piano from the floor.
- As a result, the threshold must be adjusted in accordance with the situation.
Code
We have chosen to start our scale with the note C 4 (523 Hz, 3C in hexadecimal). But it is possible to:
- modify the threshold,
- add notes,
- change the starting note
Connect the MIDI Connector
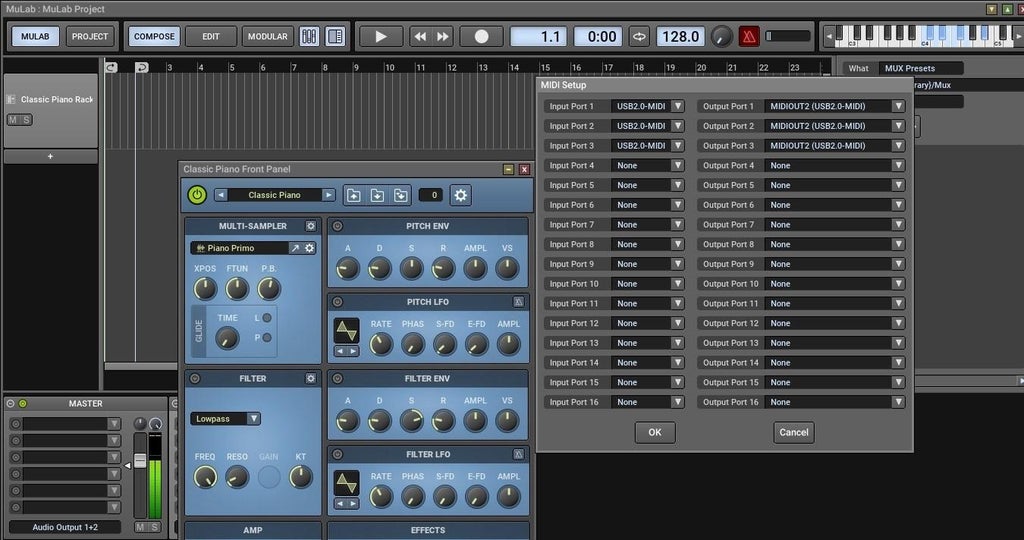
- We utilized the Mulab sequencer and attached the MIDI port to the PC.
- Simply declare the converter’s USB port in “MIDI Setup,” and you’ll be able to choose from a wide range of instruments.
Final Result
An Arduino-based Piano is designed and implemented successfully.