
How to Install OpenCV using CMake in Raspberry Pi
In this article, we will be discussing how to install OpenCV on raspberry pi using CMake. We’ll use OpenCV version 4.0.0 because newer versions may contain errors. It has been thoroughly tested by me and has proven to be reliable. So, let’s get started with the installation steps.
I would request to use raspberry pi 4 to set up the particular. You can also use a 3B+ or 3B if you want, but the processing power of Raspberry Pi 4 makes things a lot faster. Before you begin the installation, you must first set up a few things to guarantee that OpenCV is properly installed.
What is OpenCV?
OpenCV is an excellent tool for image processing and computer vision. It’s an open-source library for tasks including face detection, objection tracking, landmark detection, and more. Python, Java, and C++ are among the languages supported.

The library is equipped with hundreds of useful functions and algorithms, which are all freely available to us. Some of these functions are quite widespread, appearing in nearly every computer vision work. Many of the functions, on the other hand, are still unknown and haven’t gotten much attention. Intel was the first to develop it.Intel was the first to develop it.
Installing OpenCV on Raspberry Pi using CMake
Step 1: Expanding File System
- The Filesystem must be expanded in order for the OpenCV library to compile successfully. Go to the terminal and type the following command to expand your file system.
| sudo raspi-config |
- You will see a menu similar to the one below after typing the above mentioned command. Just press enter on Expand Filesystem and it will ask you for confirmation, pick Yes.

- After that, the Pi will ask for a reboot before resizing the partition.
Note: The mouse won’t work on this screen, you need to use the keyboard.
Step 2: Updating System
- Updating is necessary before proceeding with the further installation.
| sudo apt-get update && sudo apt-get upgrade |

- This should download and install any new packages that are available. This procedure will take approximately 15-20 minutes.
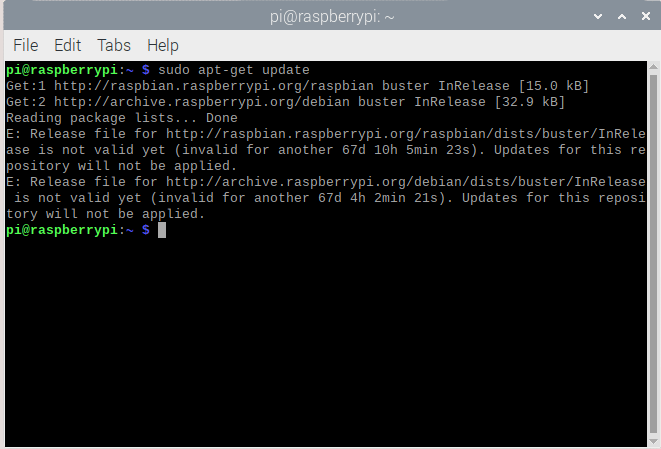
- The apt-get package will then be updated.
| sudo apt-get update |
Step 3: Installing CMake
- CMake is necessary to compile the OpenCV Library. First, we will install snapd for installing the CMake package.
| sudo apt install snapd |

- As soon as installation is completed, we will get the below image.

- After that, download and install the CMake package using the below command.
| sudo snap install cmake –classic |

- Once the installation of CMake is completed,Your screen appears like the above image
Step 4: Installing Python
- Using the command below, we’ll install the Python 3 development headers.
| sudo apt-get install python3-dev |

- My Pi already had it installed so it displays something like this.
Step 5:Getting OpenCV packages
- First, we’ll download the OpenCV source code package and use CMake to compile it on our Raspberry Pi.
- The next step would be to download the OpenCV Zip file from GitHub. To accomplish the same, type the following command.
| wget -O opencv.zip https://github.com/opencv/opencv/archive/4.0.0.zip |
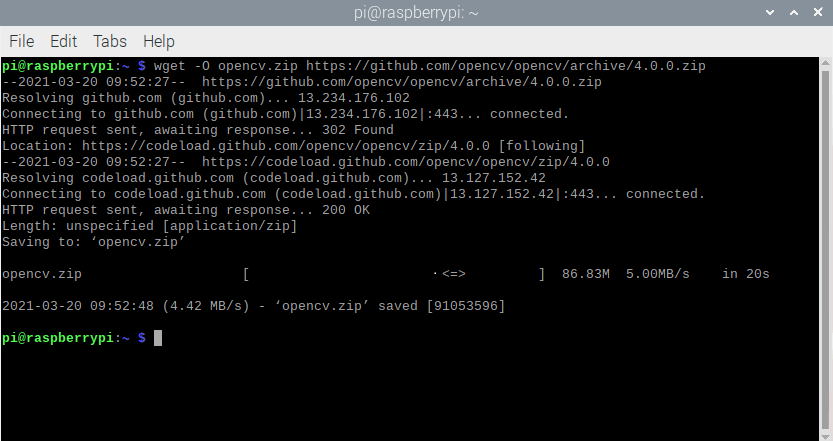
- As you can see, we are downloading Open CV version 4.0.0
- The OpenCV_contrib offers various pre-built packages for python that will make developing items easier for us. So, let’s download that as well, using a command similar to the one shown below.
| wget-Oopencv_contrib.zip https://github.com/opencv/opencv_contrib/archive/4.0.0.zip |

- You should have two zip files named “Opencv-4.0.0″ and “opencv-contrib-4.0.0″ in your home directory at this time. If you want to be sure, you can check it out just in case.
Step 6: Installing OpenCV Packages
- Using the following command, unzip the opencv-4.0.0 zip file.
| unzip opencv.zip |
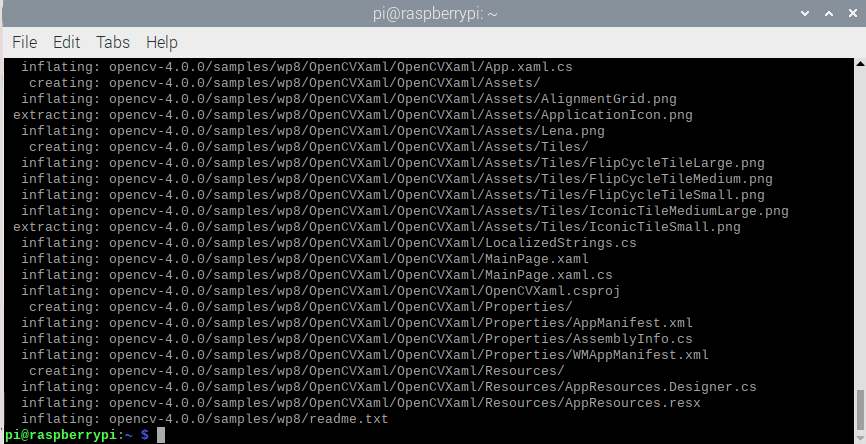
- When you’ve finished unzipping it, it should look like this.
- Similarly, use the command line to extract opencv_contrib-4.0.0.
| unzip opencv_contrib.zip |
- When you’ve finished unzipping, you’ll see something similar to the image below.

Step 7: Installing NumPy
- NumPy is required for OpenCV to function. So, let’s install it with the command below.
| pip install numpy |
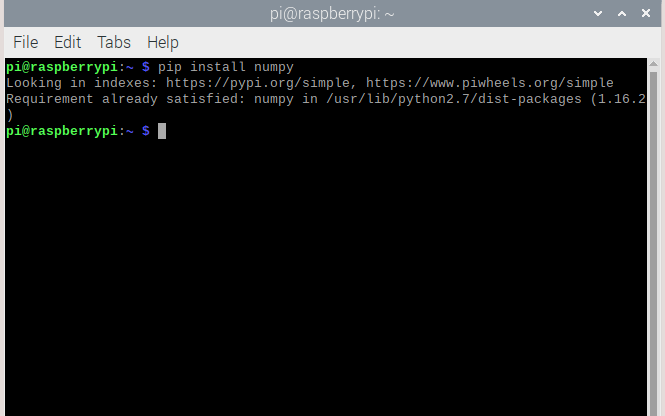
- As numpy is already installed, I see the above message indicating that the condition has been fulfilled.
Step 8: Building Directory
- In our home directory, we now have two folders labelled “opencv-4.0.0” and “opencv contrib-4.0.0.”
- The next step is to compile the Open CV library, which requires creating a new directory named “build” within the opencv-4.0.0 directory.
- Follow the below commands to do the same
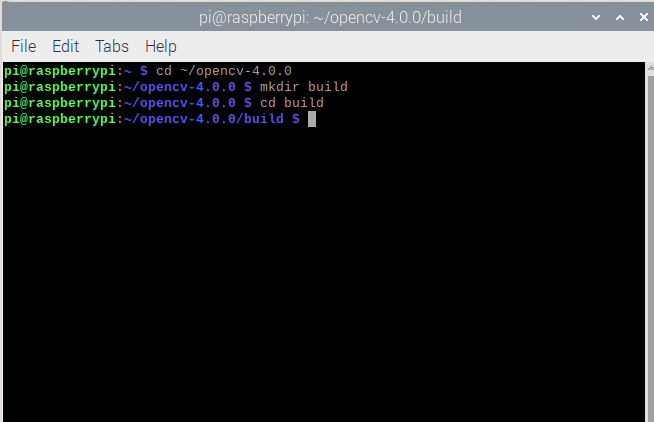
| cd ~/opencv-4.0.0mkdir buildcd build |
Step 9: Instructions for Compiling
- Now we must use CMake to build OpenCV. This is where we may set the parameters for how Open CV should be compiled. Make sure you’re in the “/opencv-4.0.0/build” directory. Then copy and paste the lines below into the terminal window.
| cmake -D CMAKE_BUILD_TYPE=RELEASE \ -D CMAKE_INSTALL_PREFIX=/usr/local \ -D OPENCV_EXTRA_MODULES_PATH=~/opencv_contrib-4.0.0/modules \ -D ENABLE_NEON=ON \ -D ENABLE_VFPV3=ON \ -D BUILD_TESTS=OFF \ -D WITH_TBB=OFF \ -D INSTALL_PYTHON_EXAMPLES=OFF \ -D BUILD_EXAMPLES=OFF . |

- It should configure without errors, and the messages “Configuring done” and “Generating done” should appear as seen below.
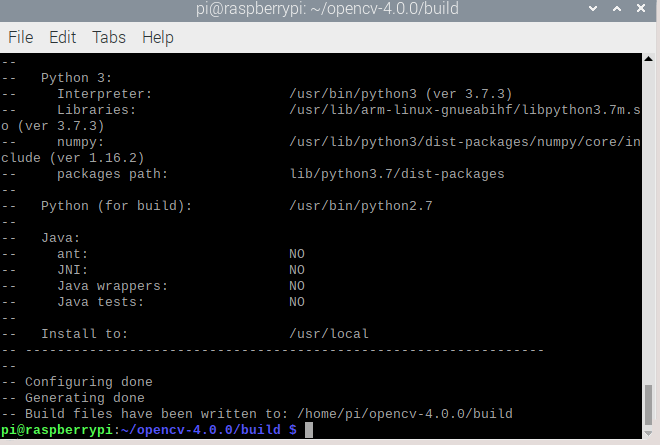
- If you get an error during this process, double-check that you typed in the correct path and that the home directory path has two directories named “opencv-4.0.0” and “opencv contrib-4.0.0.”
Step 10: Compiling OpenCV
- This would be the most time-consuming step. To compile OpenCV, make sure you’re in the “/opencv-4.0.0/build” folder once more and run the following command.
| Make –j4 |
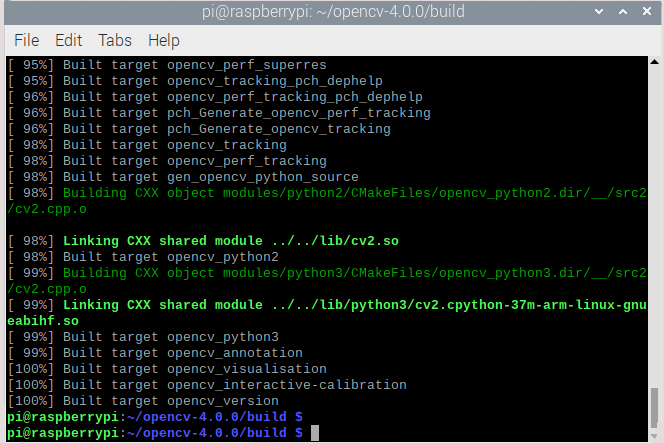
- He would start building OpenCV and you would be able to see the progress in percentage. The process should take roughly 30-40 minutes, and after completed, you should see a screen similar to the one seen above.
- The command “make –j4” compiles OpenCV using all four cores. Some people may find the process taking too long to complete at 99 percent, but wait patiently and it will be completed.
- It did not work for me after waiting 25 minutes, and an error appeared similar to the one shown above, so I rebuilt it using “make –j1” and it worked.
- Make –j1 uses only a single core of the Pi and takes longer than make j4, but it is more stable, so it is advised to use make j4 first and then make j1 because make j4 handles most of the compilation.

- If your code isn’t compiling at 100% and you’re getting an error like the one above, try using “make -j1.” Also, if it gets stuck at 63 percent or anywhere in the middle, erase all the files from the build folder and start over with the right steps.
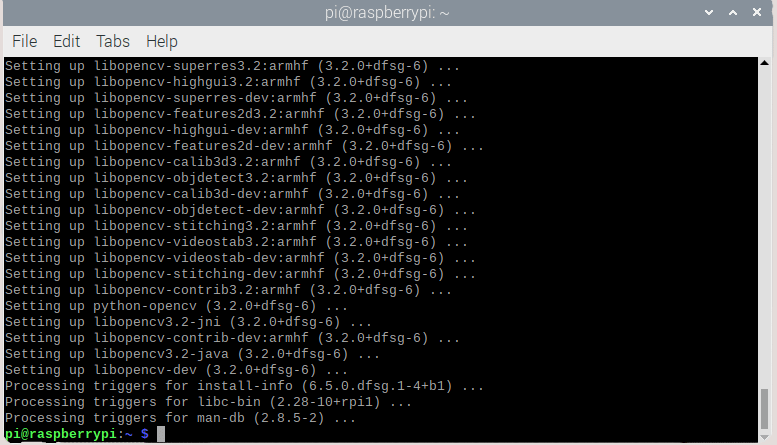
Step 11: Installing libopencv
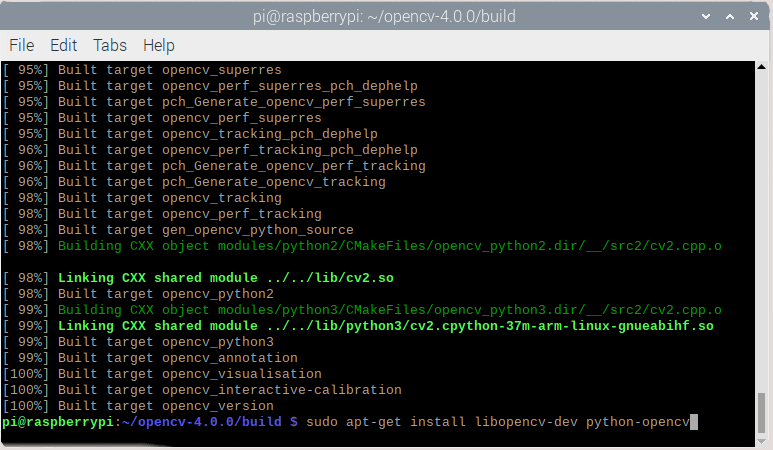
- You have completed the process if you have reached this point. The final step is to run the following command to install libopecv.
| sudo apt-get install libopencv-devpython-opencv |
Step 12: Testing OpenCV
- Finally, you may execute a simple python programme to see if the library was successfully added.
| Pythonimport cv2 |

- When you do this, you should not get any errors.
- If you get this screen, you can start working on whatever OpenCV project you like.
Conclusion
In this tutorial, we have installed OpenCV on raspberry pi using CMake which is a very complex process. I hope you all have become familiar with Installation steps.Will be back soon with more informative blogs.