
Electronic devices are getting more compact, adaptable, and affordable, and they are capable of performing more functions than their predecessors. In the electronics sector, a microcontroller was launched as a novel innovation. Designed to make our tasks easier, with the least amount of effort and maximum production

Arduino is an open-source hardware and software corporation, initiative, and user community that creates single-board microcontrollers and microcontroller kits for the creation of digital devices. So are you trying to power an Arduino using a battery?Then this blog will assist you. Many of us require powering of the Arduino through a battery for our portable projects. Mostly the Arduino nano is used for portable projects only due to its size offering. Being small and effective for low power and small sized projects.
.
Arduino Nano
Arduino Nano version 3 is an open-source small embedded development board based on the Microchip ATmega328 SMD package developed by Arduino. cc. Meanwhile, the current version of Arduino Nano comes with a mini USB port.
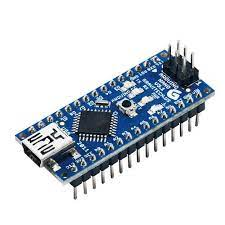
The current version of Arduino Nano comes with 14 digital I/O pins, 8 analogue pins, an ICSP header, 16 MHz ceramic resonators. And an Atmega328 microcontroller is used to connect with external electronics circuits. Out of 14 I/O ports, 6 pins were used for PWM output. This Arduino board lacks a DC power jack. Each pin operates at a voltage of 5V providing a maximum of 40mA. It also supports serial communication using Tx and Rx pins. As the DC Power Jack is not available on this Board, power can be given through Mini USB Cable.
Specifications:
- Microcontroller: Atmel ATmega328 SMD Package
- Operating Voltage (logic level): 5 V
- Input Voltage (recommended): 7-12 V
- Input Voltage (limits): 6-20 V
- Digital I/O Pins: 14 (of which 6 provide PWM output)
- Analog Input Pins: 8
- DC Current per I/O Pin: 40 mA
- Flash Memory: 32 KB (of which 2KB used by bootloader)
- SRAM: 2 KB
- EEPROM: 1 KB
- Clock Speed: 16 MHz
- Automatic reset during program download
- Power OK blue LED
- Green (TX), red (RX) and orange (L) LED
- Auto-sensing/switching power input
- Small mini-B USB for programming and serial monitor
- ICSP header for direct program download
- Standard 0.1” spacing DIP (breadboard friendly)
- Manual reset switch
- Dimensions: 0.70” x 1.70”
Powering Arduino Nano
You can power it in multiple ways shown below
1. Lithium-Ion Batteries
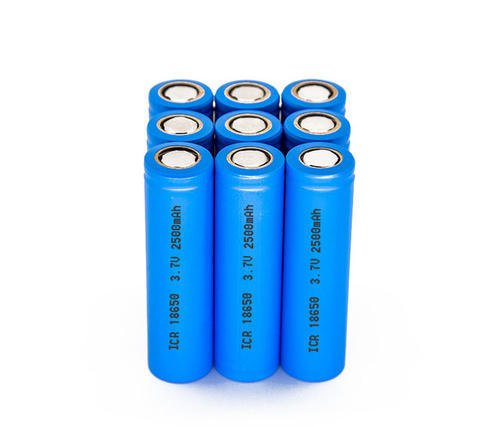
A lithium-ion battery, often known as a Li-ion battery, is a rechargeable battery made up of cells in which lithium ions travel from the negative electrode to the positive electrode through an electrolyte during discharge and then back again during charging.
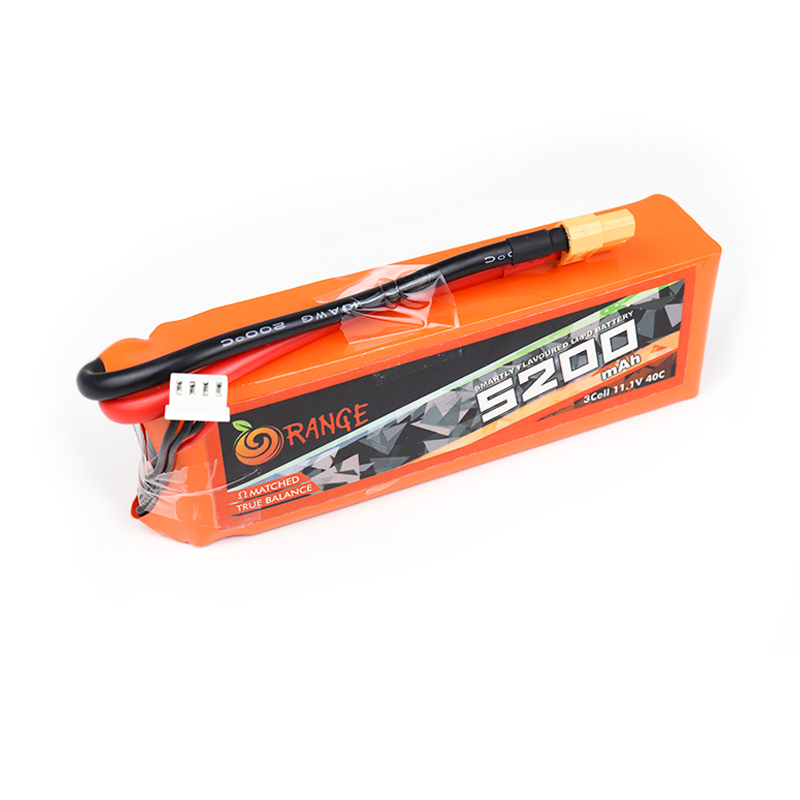
A lithium polymer battery, or more precisely a lithium-ion polymer battery (abbreviated as LiPo, LIP, Li-poly, lithium-poly, and others), is a lithium-ion rechargeable battery using a polymer electrolyte rather than a liquid electrolyte. They’re also lightweight, have a low profile, and have a lower risk of electrolyte leakage. However, Li-Po batteries aren’t perfect because they’re more expensive to make and don’t have the same energy density or lifespan as lithium-ion batteries.
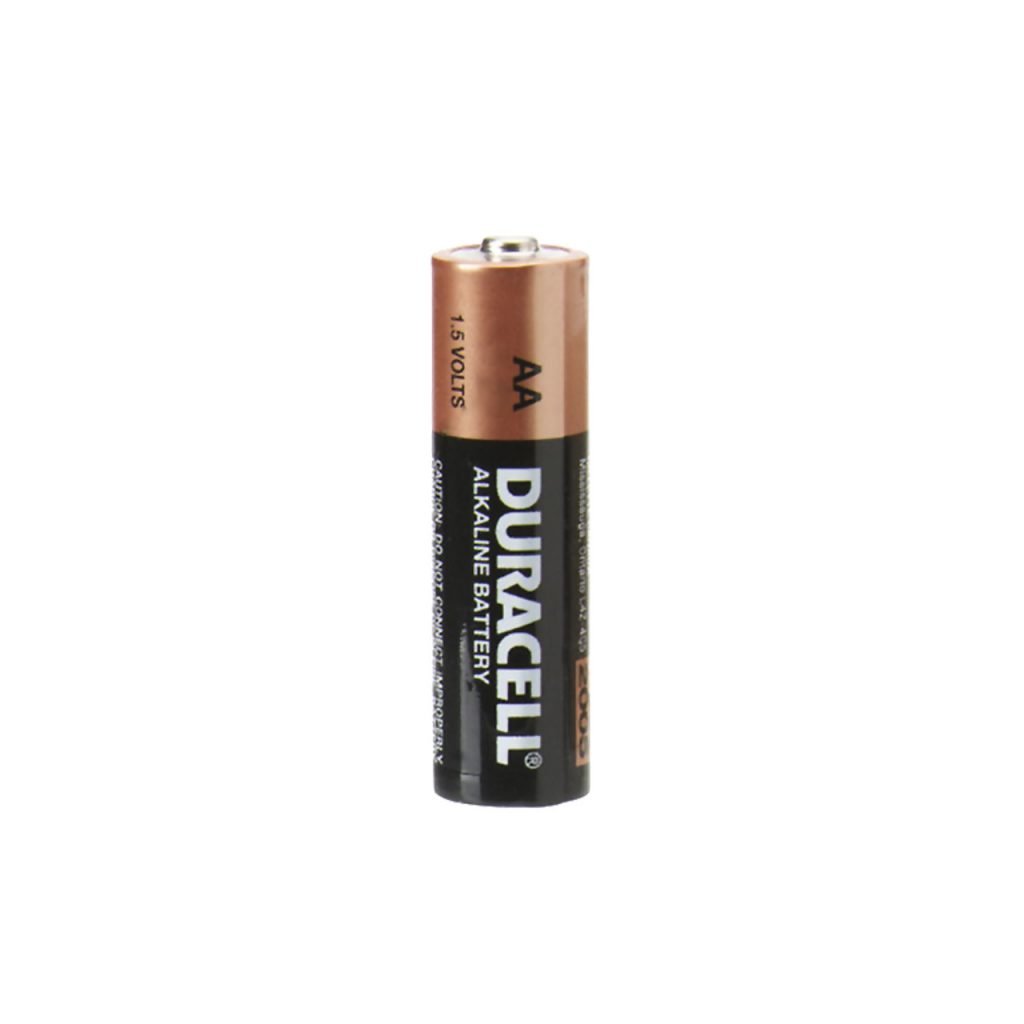
3. Rehargeable/Non Rechargeable AA batteries
The most popular single-cell batteries found in electrical equipment are AA batteries. Primary (non-rechargeable) and secondary (rechargeable) batteries are available. Alkaline and zinc chloride batteries are the two most common forms of primary batteries. Lithium-ion, Nickel-metal Hydride (NiMH), or Nickel-Cadmium secondary batteries are all options (NiCd).
4. Other batteries
Other types of batteries can also be used to power an Arduino Nano. However, the processes involved may be quite complex depending on the type of battery used.
How To Power Arduino Nano With Battery
Things Required
- Lithium-Ion Batteries: An Arduino can be simply powered by a Li-ion battery Li-ion batteries are available as single-cell 18650 or 14500 (AA-size) batteries.
- Battery Holder: The size of your battery will determine the battery holder you use. Please utilize a high-quality holder because low-quality holders frequently produce loose contact and undesired behavior.
- Battery protection board: Lithium-ion batteries are not capable of being charged directly. This is because even a small amount of overcharge or overvoltage can result in dangerous conditions such as a fire or explosion. As a result, they’re charged with a battery protection board, which cuts off power when a battery hits its maximum allowable voltage (usually 4.2V).
Step 1- Place battery into battery holder.
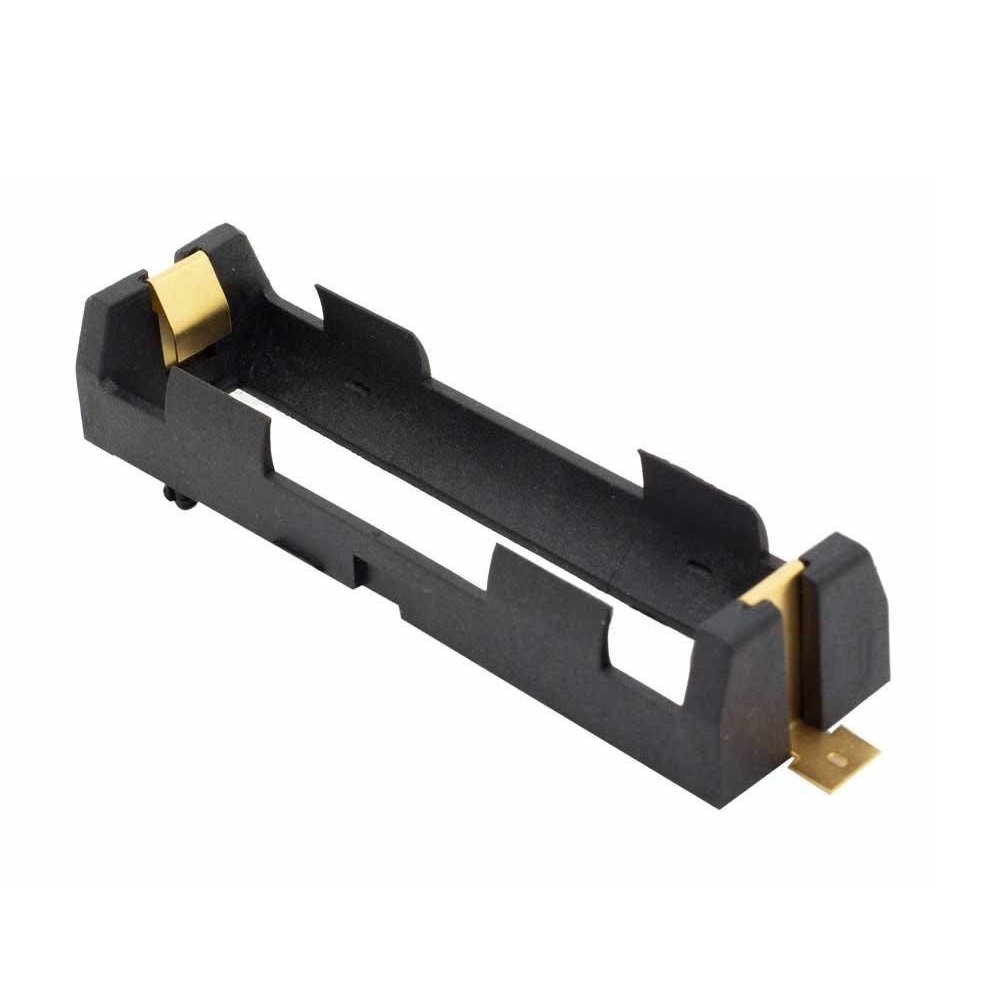
Since 18650 cells are larger than 14500 (AA) cells, a larger holder is required. To make adequate contact, holders must be adapted to the size of the battery. To ensure a strong grip, the contacts have a spring mechanism. Wires may or may not be soldered to the holder’s terminals for connection.
Step 2: Connect Terminals of the Battery Holder with the Protection Board
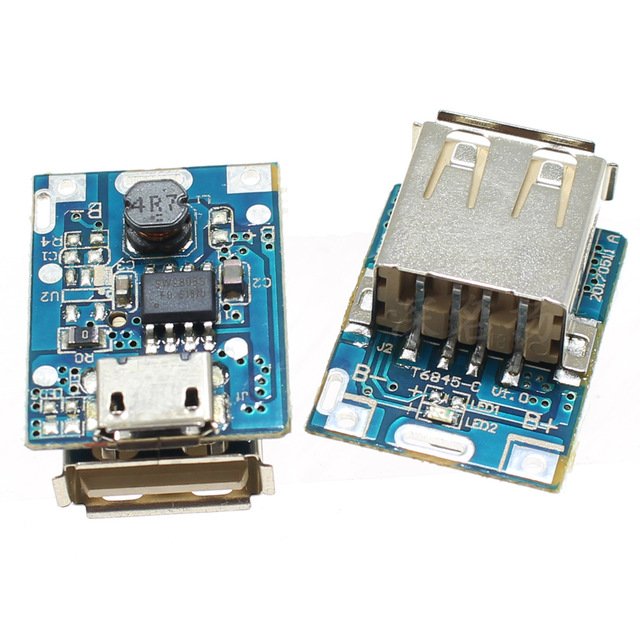
- Connect the positive(B+) and negative(B-) on the protection board with the holder terminals. Otherwise, solder two wires (one for positive and one for negative) to the holder’s respective terminals with care.
Step 3- Now Charge the Battery with a Micro-USB Phone Charger
- The protection board can be connected to any normal USB-based phone charger. A green LED light on the protection board will indicate that charging is complete. When completely charged, normal Li-ion batteries will exhibit a voltage of roughly 4.2V.
Step 4- Connect USB port of Arduino Nano
- After charging, disconnect the micro USB and connect the Arduino nano’s USB connection to the female USB on the protection board. The Arduino board is now ready to use.
- With a battery and an Arduino, you may make a variety of portable projects.
Power consumption of Arduino Nano
The Arduino Nano’s current draw will be depending on the following:
- Displays, external sensors, and other devices that have been interfaced with it
- The current draw of the Nano is also determined by the supply voltage. The current consumption of a 9V power source is normally around 4.83mA. If the supply voltage is dropped to 3.3V, this can be reduced to 3.41mA.
- The amount of power consumed depends on whether the Arduino Nano is completely awake or asleep. As a result, it will be determined by the software you are using.
- The amount of current consumed varies depending on the Arduino model and the voltage regulator used on the board.
- Finally, the current consumption is determined by the clock speed of the onboard Atmega328 controller. For low-power applications, 8MHz clock speeds are generally recommended. If the Arduino is equipped with a 16MHz crystal oscillator, it must first be changed with an 8MHz one.
Hope this blog helps you to understand how to power the Arduino Nano using Battery. We ,MATHA ELECTRONICS will come back with more informative blogs.