
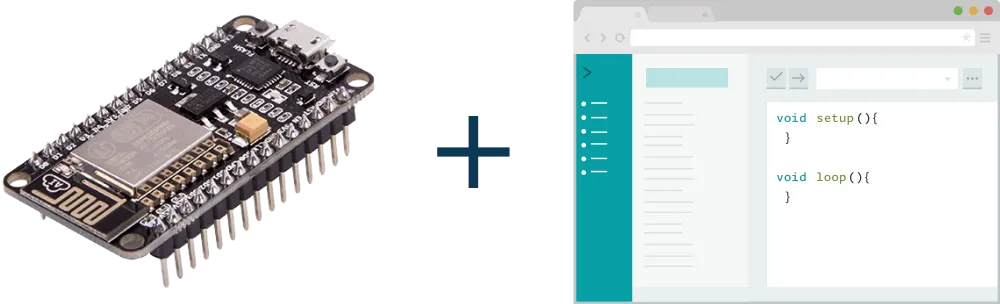
Getting Started with NodeMCU using Arduino IDE
In this Blog post,we are discussing how to Program NodeMCU with Arduino IDE.
What is Nodemcu?
NodeMCU is Lua based firmware of ESP8266.For building Lua programmes for NodeMCU, the ESPlorer IDE is typically recommended. It is necessary to become familiar with the ESPlorer IDE and the Lua programming language. Another option is to use a well-known IDE, such as the Arduino IDE, to develop NodeMCU. The Arduino programming environment can also be used to create NodeMCU applications. This saves Arduino developers the trouble of learning a new language and IDE for NodeMCU.
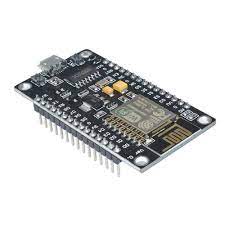
NodeMCU is an open source platform based on the ESP8266 that allows things to be connected and data to be transferred using the Wi-Fi protocol. Furthermore, it may solve many of the project’s demands on its own by providing some of the most important functionalities of microcontrollers such as GPIO, PWM, ADC, and so on. The general features of this board are as follows:
- Easy to use
- Programmability with Arduino IDE or IUA languages
- Available as an access point or station
- practicable in Event-driven API applications
- Having an internal antenna
- Containing 13 GPIO pins, 10 PWM channels, I2C, SPI, ADC, UART, and 1-Wire
What is the LUA Script?
Lua is a powerful, lightweight, and embeddable scripting language that supports procedural, object-oriented, functional, and data-driven programming techniques.

Lua is rarely used as a standalone programming language because its primary purpose is scripting. Instead, it’s utilised as a scripting language that may be embedded (integrated) into other C and C++-based projects. Other programming languages are supported via third-party plugins (NLua/KeraLua for.NET/C#).
Step by Step Process of Installation of NodeMCU Board.
- Let’s look at how to use the Arduino IDE with NodeMCU.
- The first step is to download and install the Arduino IDE from the Arduino.cc site.
- If you already have it, the next step is to choose a path.
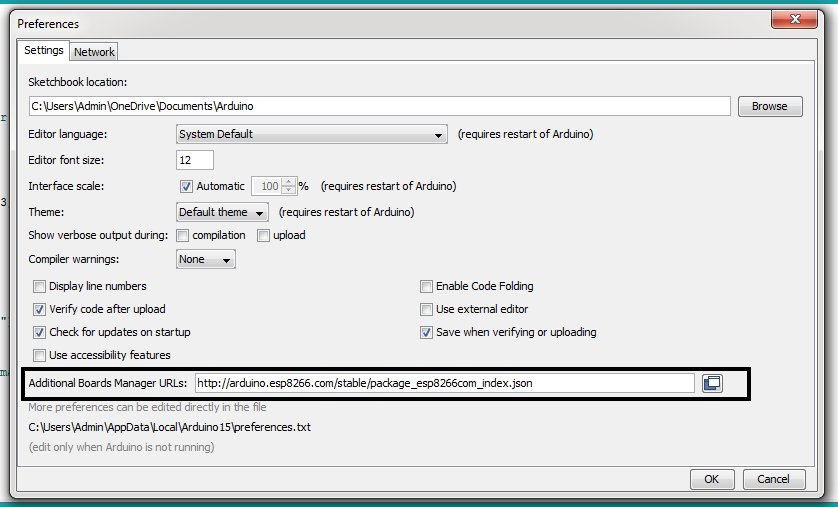
- Additional board manager URL can be found in File -> Preferences -> Additional board manager URL.
- Also, copy and paste the following URL:
- http://arduino.esp8266.com/stable/package_esp8266com_index.json
- Close the Preferences box and proceed to Tools -> Board -> Boards Manager to manage your boards.
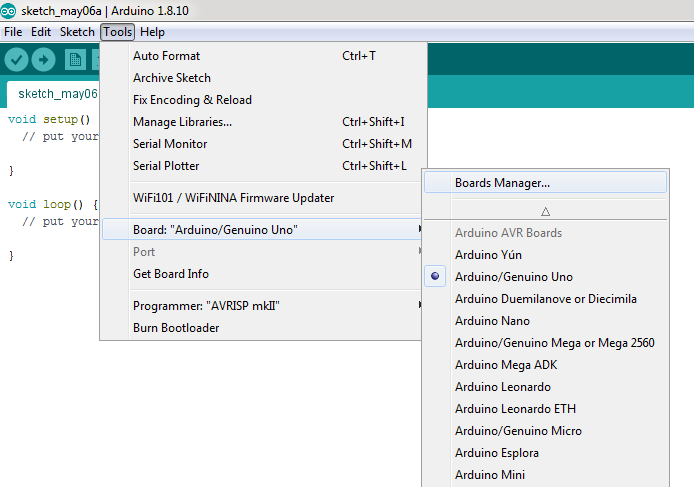
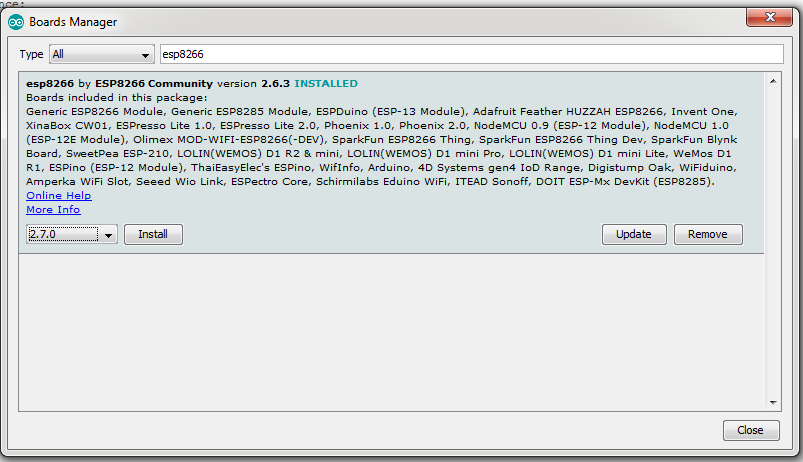
- Type esp in the search field in the Boards Manager window, and esp8266 will appear underneath. Select the most recent version of the board and click Install.
It will look like this after you’ve installed the ESP8266 board.
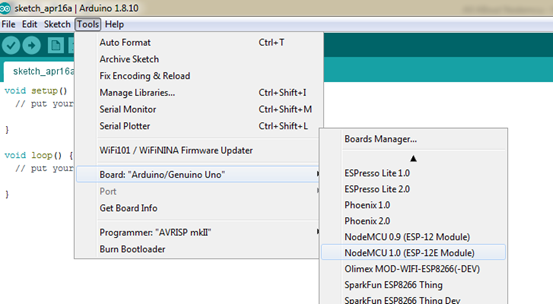
- After the board has been installed, go to Tools -> Board-> NodeMCU 1.0. (ESP-12E Module).
- Your board is now entirely installed in the Arduino IDE.
- Your Arduino IDE is now ready to use with NodeMCU.
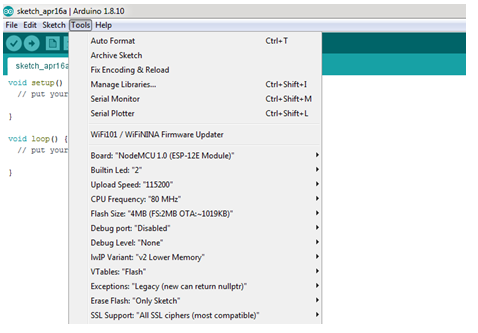
You may now execute multi-application code on NodeMCU and upload it to it; just make sure you select the suitable board as seen in the image below. Also, double-check that you’ve chosen the correct COM port.
CONCLUSION:
If you’re new to the IoT platform, I hope you’ll find this post helpful. We will be back soon with more interesting article.